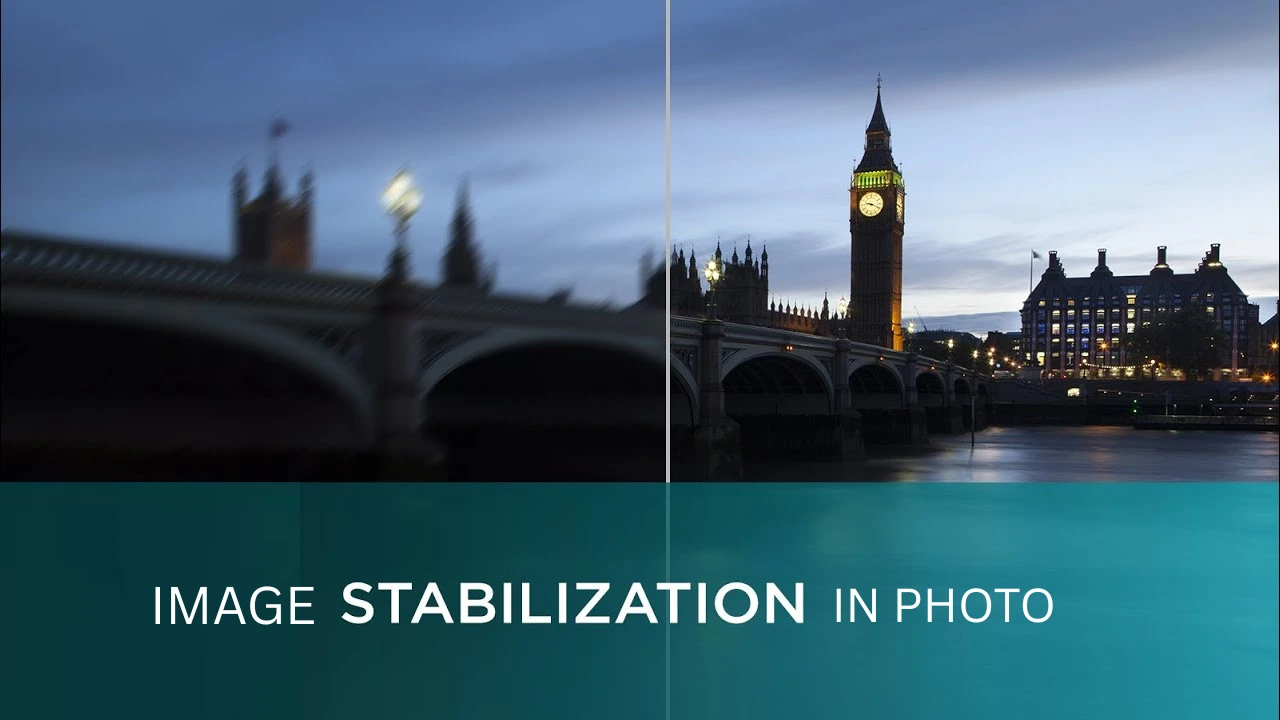
Shaky hands can make photography difficult, even if you have a lot of experience. You might capture a great scene, but a small movement can cause blur. This often happens in low light, when using a zoom lens, or when photographing moving subjects. Camera shake can easily ruin a photo without you noticing.
Keeping your camera steady depends on how you hold your body, use your camera, and rely on support tools. With the right techniques and simple equipment, you can take clearer and sharper photos. In this guide, you’ll learn easy and practical tips to help you capture steady, high-quality images every time.
Why Shaky Hands Affect Your Photography
Shaky hands can affect your photos because even small movements get enlarged through the camera lens. When you feel tired, nervous, or tense, your hands may shake slightly, making it harder to hold the camera steady. That’s why many photographers follow the 1/focal-length rule for shutter speed. This means your shutter speed should be at least 1 divided by the focal length. For example, if you are using a 200mm lens, your shutter speed should be 1/200 second or faster.
Even tiny movements can make a big difference, especially in low light, during long exposures, or when using a telephoto lens. The way you hold your camera can also increase the effect of these small shakes. As a result, your photos may look blurry and less sharp.
Understanding how camera shake happens helps you reduce it. Once you know how movement impacts your images, you can use simple techniques to keep your shots steady and clear.
How to Control Shaky Hands
Your body is the easiest and most accessible tool for stabilizing your camera. If you learn how to position yourself correctly, you can take sharper and clearer photos in many situations. Below are some simple techniques to help reduce camera shake:
Elbows In
A simple way to steady your hands is to keep your elbows close to your body. Tucking your elbows in improves balance and reduces movement. Press them lightly against your chest for extra support. Before taking the shot, exhale slowly, as even small breathing movements can cause blur, especially in low light or slower shutter speeds.
Use a Shoulder Brace Position
This method depends on your dominant eye. If you use your right eye, raise your left shoulder and rest your left elbow against your chest for better support. If you use your left eye, reverse the position. This creates a stronger brace and helps minimize movement when pressing the shutter. Remember to breathe out before capturing the image.
Create a Tripod with Your Knee
When height is not important, you can use your body as a natural tripod. Sit down and shift your weight to one side so one knee is raised. Place your elbow on that knee to create a stable base. Keep your other elbow close to your body for added stability. This position helps reduce shake and keeps your camera steady.
Lie Down for Maximum Stability
Lying flat on the ground is one of the best ways to avoid camera shake without using a tripod. Rest your camera lens on the surface to keep it steady. If the angle points downward, place your hand or a fist under the lens to adjust the angle slightly. This helps you frame your shot while maintaining maximum stability.
Tools That Help Combat Camera Shake
Modern cameras come with advanced features that make it easier to capture stable and sharp images. Using the right tools can significantly reduce blur caused by hand movement. Here are some common tools that help control camera shake:
In-Body Image Stabilisation (IBIS)
Many modern cameras include In-Body Image Stabilisation. This feature moves the camera’s sensor to compensate for small shakes, often providing 4 to 8 stops of stabilization. It helps keep images sharp even when shooting handheld.
Lens Stabilisation
Some lenses are built with stabilisation systems that reduce blur caused by movement. These lenses use internal mechanisms and sensors to detect motion and adjust lens elements accordingly. This is especially useful when using zoom or telephoto lenses.
Tripods
A tripod is one of the most effective tools for eliminating camera shake. It provides a solid and stable base, making it ideal for low-light photography, long exposures, and landscape shots.
Monopods
A monopod offers partial stability while remaining lightweight and easy to carry. It is commonly used in sports, wildlife, and event photography where mobility is important but some support is still needed.
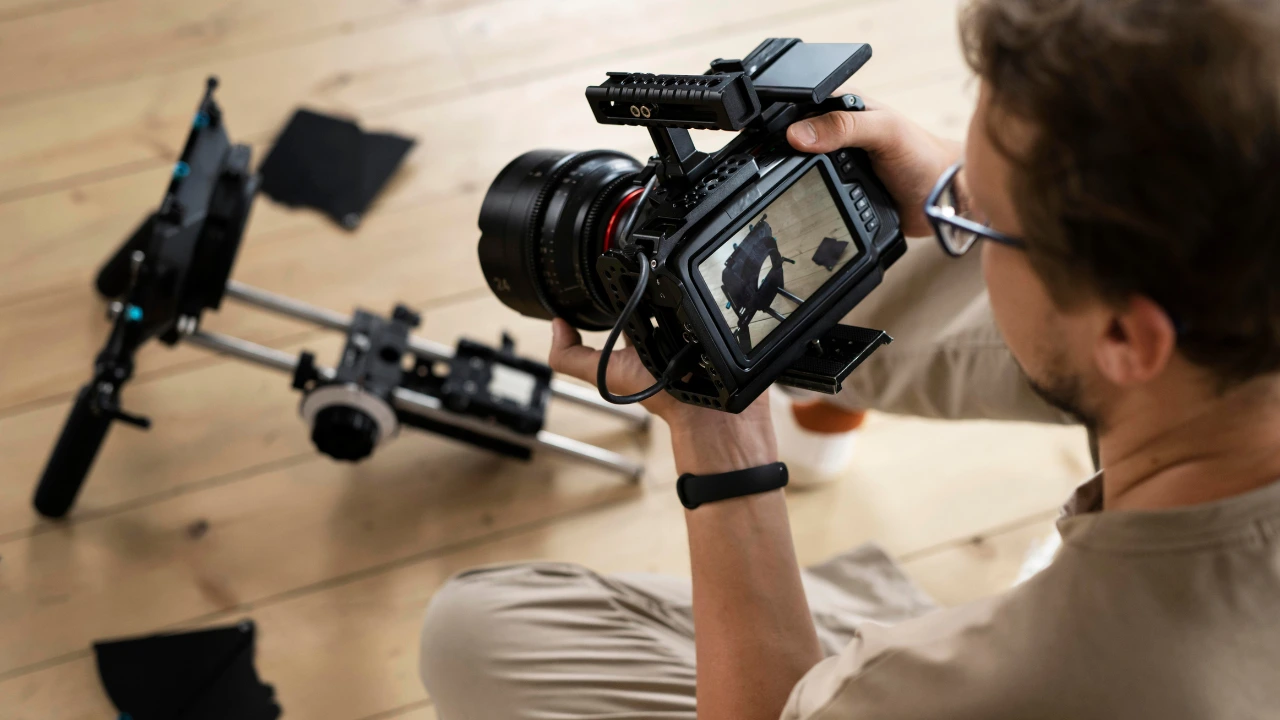
Gimbals for Video
A gimbal is a motorized stabilizing device that keeps the camera steady using 3-axis movement control. It helps produce smooth and professional-looking video footage, especially during walking, panning, or tracking shots. Popular modern options include devices like the DJI RS4 Mini, which works well with mirrorless and DSLR cameras.
How to Reduce Camera Shake: Essential Powerful Techniques for Sharp Photos
Camera Shake Solutions: The Basics
All cameras experience a small amount of movement, even if it’s not visible. As long as your camera is steady and your shutter speed is fast enough, this slight shake usually won’t affect your images, and your photos will remain sharp.
Problems begin when two factors come together: an unsteady camera and a slow shutter speed. If your hands are moving while the shutter stays open for too long, the result is often a blurry image. However, you can avoid this by either stabilizing your hands or using a faster shutter speed.
This guide focuses on two main ways to reduce camera shake. The first involves technical solutions, such as adjusting camera settings or using equipment like image stabilization or tripods. The second involves physical techniques, where you improve your posture and body position to keep the camera steady.
How to Prevent Camera Shake: Technical Solutions (14 Powerful Techniques)
If you notice blur in your photos caused by camera shake, you can improve your results by adjusting your camera setup. One of the most effective technical solutions is to modify your camera settings.
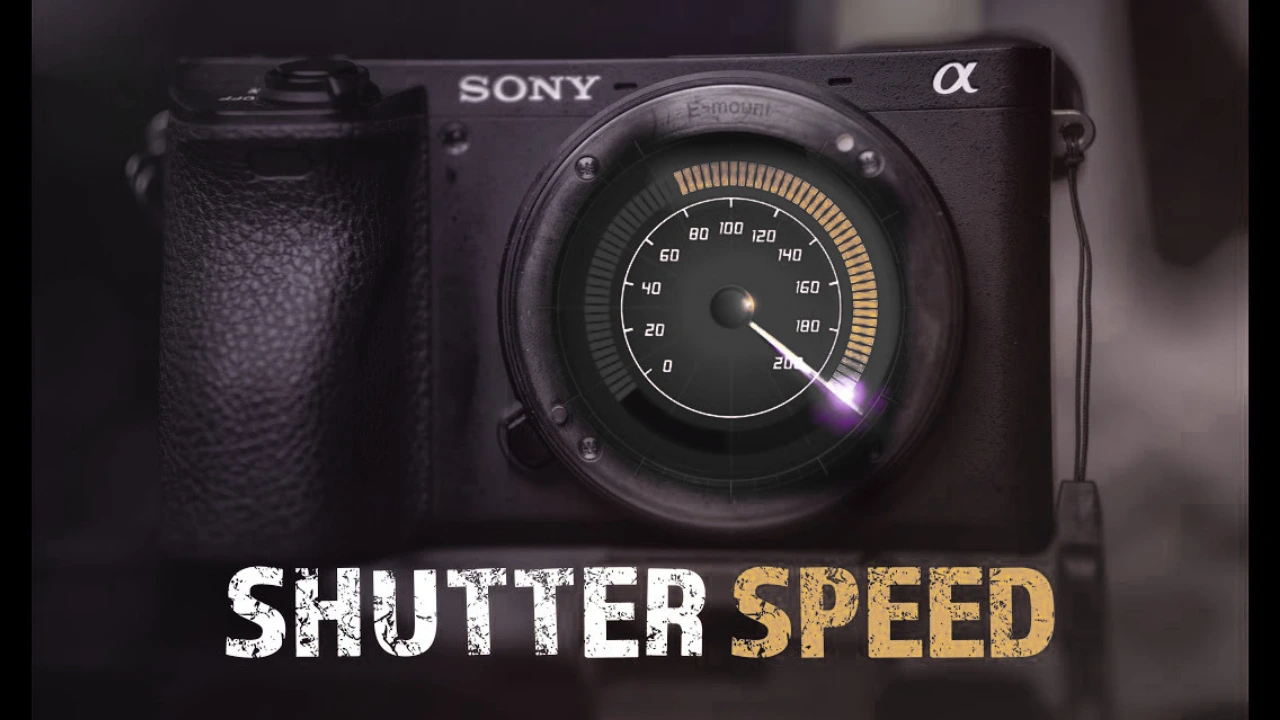
1. Increase Your Shutter Speed
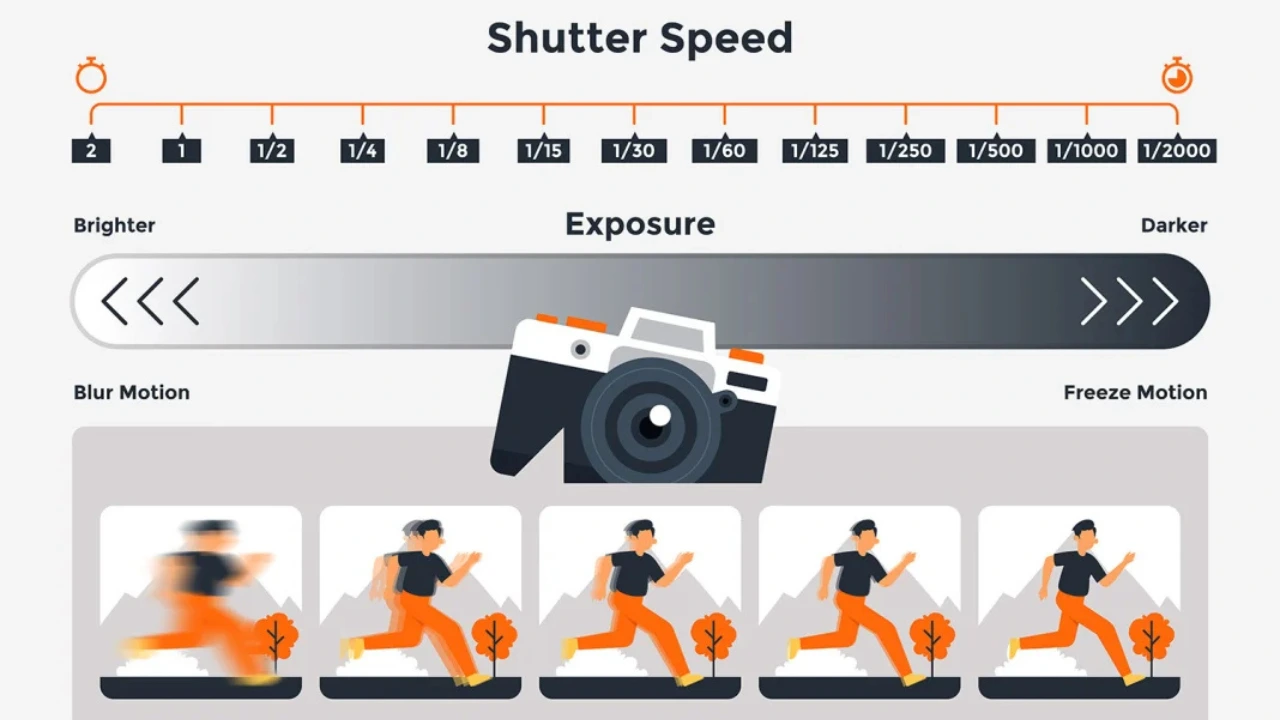
The faster your shutter speed, the less chance there is for camera shake to affect your image. If your photos appear blurry, your shutter speed may simply be too slow.
The ideal shutter speed depends on the situation. For example, when using a long telephoto lens or shooting in an unstable position, you may need a shutter speed of 1/500 second or faster. On the other hand, with a shorter lens and stable handholding, you may be able to shoot at around 1/80 second or even slower without noticeable blur. It’s a good idea to test different shutter speeds and review your images to understand what works best for your setup.
However, increasing shutter speed affects exposure. To maintain proper brightness, you’ll need to compensate by either widening your aperture or increasing your ISO. Start by using a wider aperture, which allows more light in without affecting image quality significantly. If you still need more light, you can raise the ISO, but be careful—higher ISO settings can introduce noise into your images. Only increase ISO when necessary to maintain the best possible image quality.
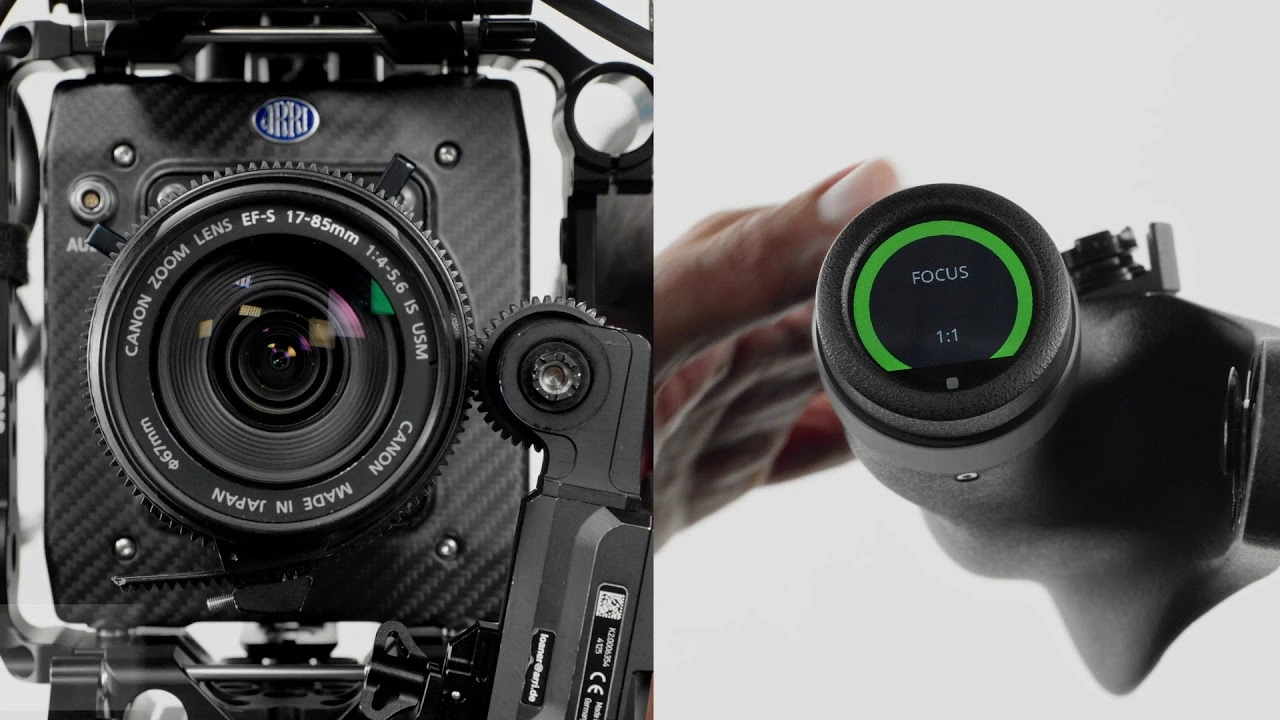
2. Use Image Stabilization
Many modern cameras and lenses include a feature called image stabilization (also known as vibration reduction or vibration compensation). This technology helps reduce the effects of camera shake, allowing you to take sharper photos even at slower shutter speeds.
With image stabilization turned on, you can often shoot at slower speeds like 1/60s, 1/30s, or even 1/15s while still getting clear images. However, the effectiveness can vary depending on your camera or lens, so it’s a good idea to test different shutter speeds and see what works best for your setup.
A few important tips:
- Always make sure image stabilization is turned on before shooting. Check your camera settings or the switch on your lens.
- If you are using a tripod, turn image stabilization off. When both are used together, they can interfere with each other and may actually make your images less sharp.
Using image stabilization properly can make a big difference in reducing camera shake and improving image quality.
3. Put Your Camera on a Tripod (or a Monopod)
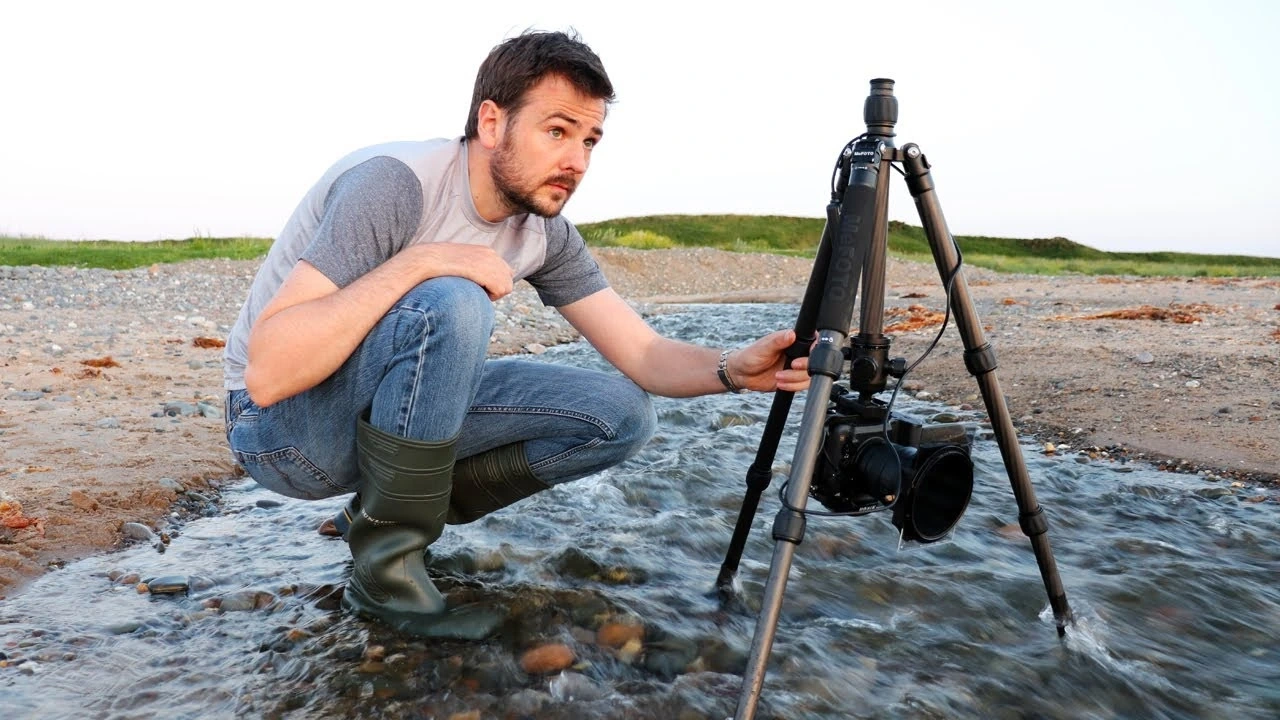
One of the simplest and most effective ways to reduce camera shake is to use a tripod. By placing your camera on a stable tripod, you can keep it completely steady, regardless of your shutter speed.
A good tripod allows you to capture sharp images even during long exposures, such as 1 second, 5 seconds, or even longer. This is especially useful for creative photography like smooth water effects or motion blur in clouds.
However, not all tripods are equally stable. Some cheaper or lightweight models may not hold your camera firmly, so it’s important to choose a sturdy, high-quality tripod for the best results.
If a tripod feels too heavy or inconvenient, a monopod is a good alternative. While it doesn’t provide full stability like a tripod, it still helps reduce camera shake and is useful for situations like events or low-light shooting where mobility is important.
4. Use Your Camera’s Electronic Shutter
Camera shake doesn’t always come from your hands. Sometimes it comes from inside the camera itself, known as shutter shock. This happens when the movement of a mechanical shutter creates small vibrations that can make your images slightly blurry. It is more noticeable when using slower shutter speeds, especially when your camera is mounted on a tripod.
Switching to an electronic shutter can help solve this problem. Since it removes mechanical movement, the camera captures images without causing extra vibration, resulting in sharper photos. If you are using a mirrorless camera, this option is usually available in the camera’s settings menu.
If your camera does not have a full electronic shutter or you are concerned about rolling shutter effects, you can use the Electronic Front-Curtain Shutter (EFCS). This setting begins the exposure electronically and ends it with the mechanical shutter. It reduces vibrations at the start of the exposure while still maintaining image quality, helping you avoid shutter shock and capture clearer images.
5. Use a Remote Release or the Self-Timer
When using a tripod and slower shutter speeds (beyond around 1/60s), another source of camera shake can come from pressing the shutter button. Even a small tap from your finger can create vibrations that affect image sharpness.
To avoid this, you can trigger the shutter without touching the camera directly. One way is to use a remote release, which allows you to take a photo from a distance. Another option is the camera’s self-timer, which delays the shutter and gives any vibrations time to settle before the photo is taken.
Both methods are effective, but many photographers prefer a remote release because it is faster and more precise. It is especially useful when timing is important, such as capturing a specific moment in motion, like a wave hitting the shore.
6. Invest in a Camera Body Grip
A camera body grip is a simple accessory that attaches to the bottom of your camera and improves how you hold it. It gives you a stronger and more comfortable grip, which helps reduce camera shake, especially when shooting in vertical (portrait) orientation.
This tool is very useful for portrait photography because it provides better balance and control. With a grip, your hands have more support, making it easier to keep the camera steady and capture sharper images.
Another benefit is that many body grips can hold an extra battery, allowing you to shoot for longer without worrying about running out of power. This makes them both practical and convenient.
In addition, switching between horizontal and vertical shooting becomes smoother. Instead of adjusting your hold awkwardly, the grip helps you maintain stability while changing positions. This lets you focus more on composition and less on handling the camera.
7. Use a Shorter Lens
The longer your lens, the more camera shake becomes noticeable in your photos.
This happens because longer lenses have a narrower field of view, which magnifies even small hand movements. In addition, they are usually heavier, making them harder to hold steady for long periods.
If you are struggling with camera shake and cannot increase your shutter speed or use a tripod, switching to a shorter lens can help. Wide-angle lenses reduce the effects of shake the most, but even a standard 50mm lens allows you to shoot at slower shutter speeds, such as around 1/60s, while still keeping your images relatively sharp.
8. Remove Your Camera Strap
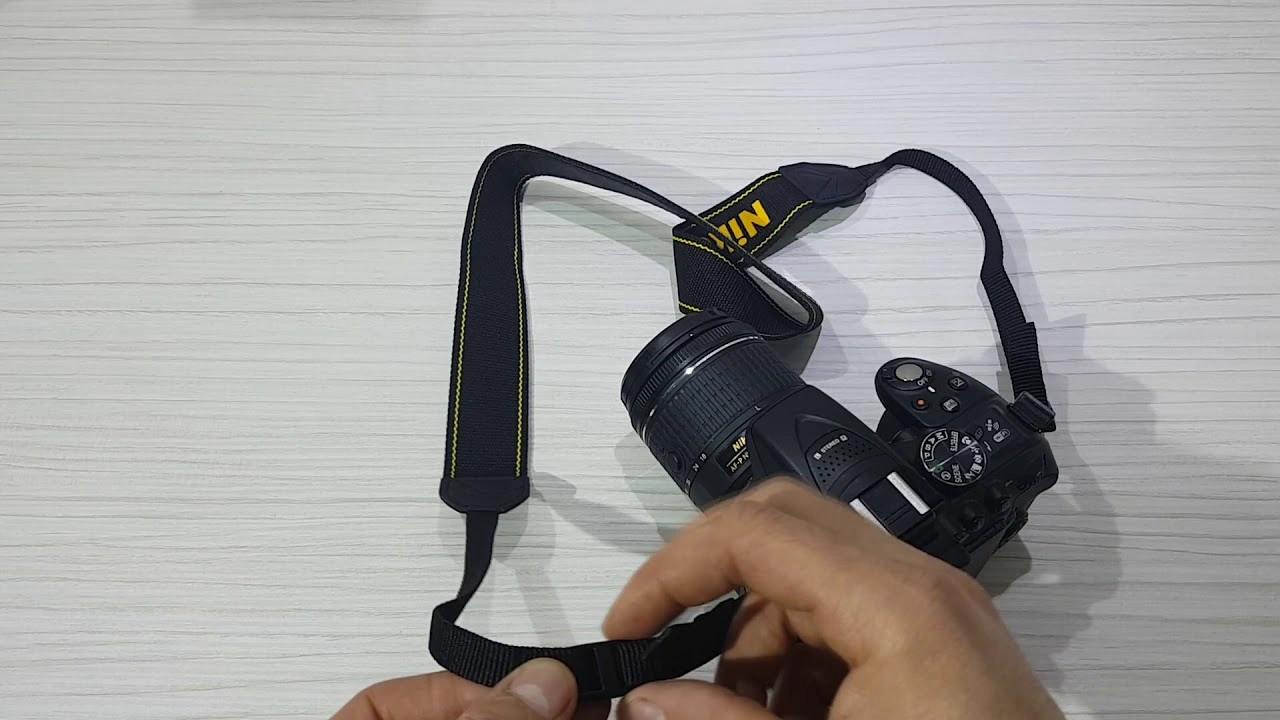
Your camera strap is useful for carrying your camera safely, but it can sometimes cause unwanted movement during shooting.
When using a tripod, especially in windy conditions, the strap can act like a sail. It catches the wind and creates small movements that may shift your camera slightly. Even if the movement is very minor, it can still affect image sharpness, especially in long exposures or detailed shots like landscapes and architecture.
To avoid this issue, it’s a good idea to remove the strap before shooting in such conditions. This helps eliminate any extra movement and keeps your camera more stable, giving you cleaner and sharper photos.
How to Prevent Camera Shake: Physical Solutions
While technical tools are very helpful, it’s also important to keep your own body steady when taking photos. In this section, we’ll share simple and effective techniques to help you stay stable in different shooting situations.
1. Tuck Your Elbows In
This is one of the easiest and most effective techniques.
Keep your elbows close to your body and let them rest against your torso. You can press them gently against your sides for extra stability. This creates a solid base for your arms and helps keep your hands steady while holding the camera.
Before pressing the shutter, take a deep breath and slowly exhale. Even small movements, like your chest rising while breathing, can cause slight camera shake, especially when using slower shutter speeds.
2. Raise Your Left Shoulder
If you are a right-eye photographer, you may need to switch to your left eye to use this method. Left-eye photographers can use it naturally.
Raise your left shoulder slightly and rest your left elbow against your ribcage. For added support, you can also pull your right elbow closer to your body. This position helps create a stronger and more stable shooting stance.
As always, remember to breathe out fully before taking the shot to avoid any extra movement.
3. Create a Tripod with Your Knee
When shooting from a low angle, your body can act like a tripod.
Sit down and lift one knee up. Place your elbow on that raised knee to create a stable support point. You can also keep your other elbow close to your body for additional balance.
This technique helps reduce shake by giving your camera a firm resting position.
4. Lie Down on the Ground (or Lean on a Stable Surface
Lying flat on the ground is one of the best ways to keep your camera steady without a tripod. Place your camera on the ground and use your hand or fist under the lens to adjust the angle if needed.
If lying down is not practical, you can lean against a stable surface such as a wall, car, or tree. Resting your body against a solid object helps reduce movement and keeps your camera much more stable, even at slower shutter speeds.
5. Use the Machine-Gun Hold
This technique involves holding your camera in a way that supports it with your arms.
Hold the camera to your eye with your right hand, then raise your left elbow so your lens can rest on it. For extra stability, place your left hand on your right arm. This creates a triangular support system using your arms.
It may take some practice to feel comfortable, but it can help improve stability when shooting handheld.
6. Cradle Your Camera
The cradle hold is another body-based technique to reduce shake.
Crouch down and rest your left elbow on your knee. Then position your camera so it is supported between your shoulder and wrist, creating a “cradle” for the lens.
This method provides strong support and works best when your subject is not moving, such as during portrait photography. Once you’re in this position, it can be a bit harder to move quickly, so it’s ideal for more controlled shooting situations.
Final Thoughts
Camera shake can turn a sharp image into a blurry one, but with the right physical techniques, you can greatly reduce it. By practicing these simple body positions and holding methods, you’ll gain better control over your camera and capture clearer, sharper photos.