In the creative world of Photoshop, every click is a chance to explore, and every action can open new ideas. But mistakes are a normal part of the editing process.
The good news is that Photoshop has a powerful undo feature, so you can fix errors quickly and keep working with confidence.
In this tutorial, as a leading photo retouching agency, Cutout Partner will guide you through a few simple steps to learn how to undo and redo in Photoshop, helping you enjoy a smooth and stress-free editing experience.
Edit → Undo (Control/Command + Z)
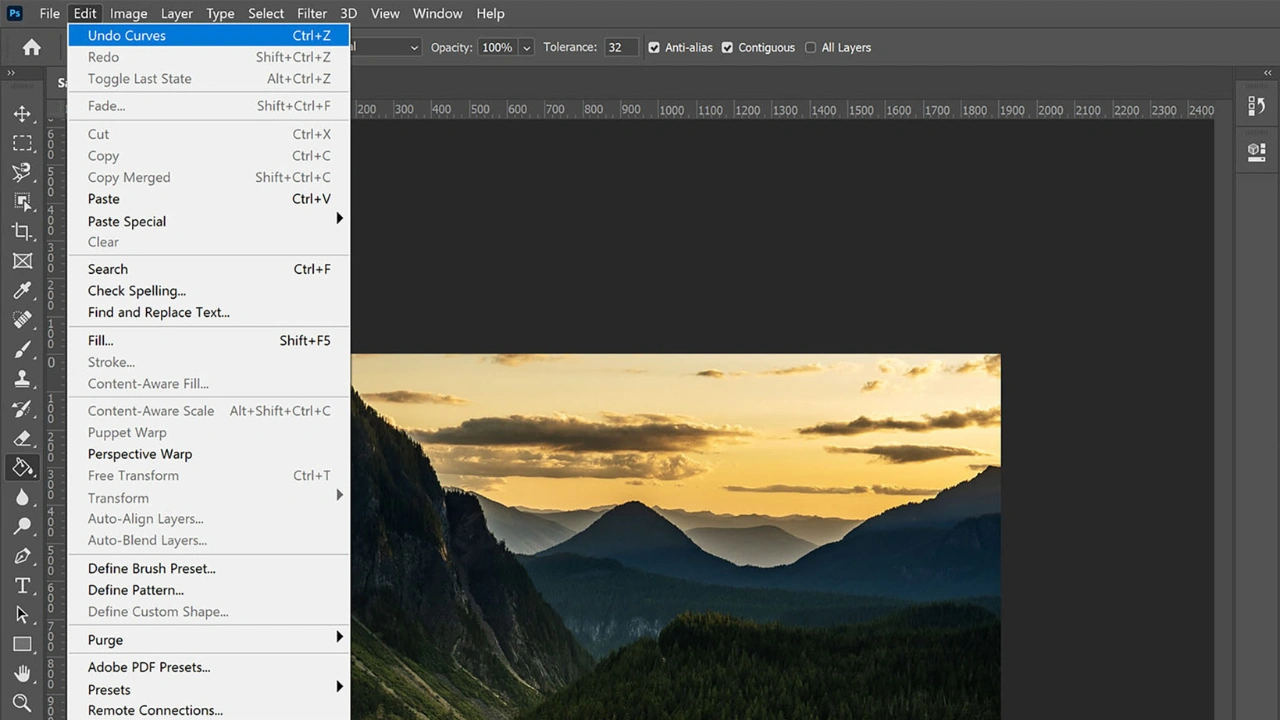
The easiest way to undo changes in Photoshop is by using the Edit menu. Simply go to Edit > Undo, which is the first option in the menu.
For a faster workflow, you can use the keyboard shortcut Ctrl + Z (Windows) / Command + Z (Mac). This is one of the most important shortcuts in Photoshop and is widely used during editing.
Using the shortcut is much quicker than navigating through the menu, especially when working with tools like the Clone Stamp or Healing Brush. You can press Ctrl/Command + Z repeatedly to step backward through multiple actions.
Redo Options
To redo an action you’ve undone, go to Edit > Redo or use the shortcut: Shift + Ctrl + Z (Windows) / Shift + Command + Z (Mac).
Photoshop also includes a useful feature called Toggle Last State, which lets you switch between your last edit and the previous state.
The shortcut for this is:
Ctrl + Alt + Z (Windows) / Command + Option + Z (Mac)
This allows you to quickly compare changes by turning the last edit on and off, helping you evaluate your adjustments more effectively.
How to Undo in Photoshop
To undo your last action in Photoshop, go to the top menu and click Edit > Undo.
However, this method is not very fast—especially when you need to undo several steps. Going to the menu again and again can slow down your workflow.
The easiest way is to use the keyboard shortcut:
Ctrl + Z (Windows) / Command + Z (Mac)
If you want to undo multiple steps, simply press the same shortcut again to go back step by step.
Using shortcuts will save time and make your editing process much smoother.
Additional Tip:
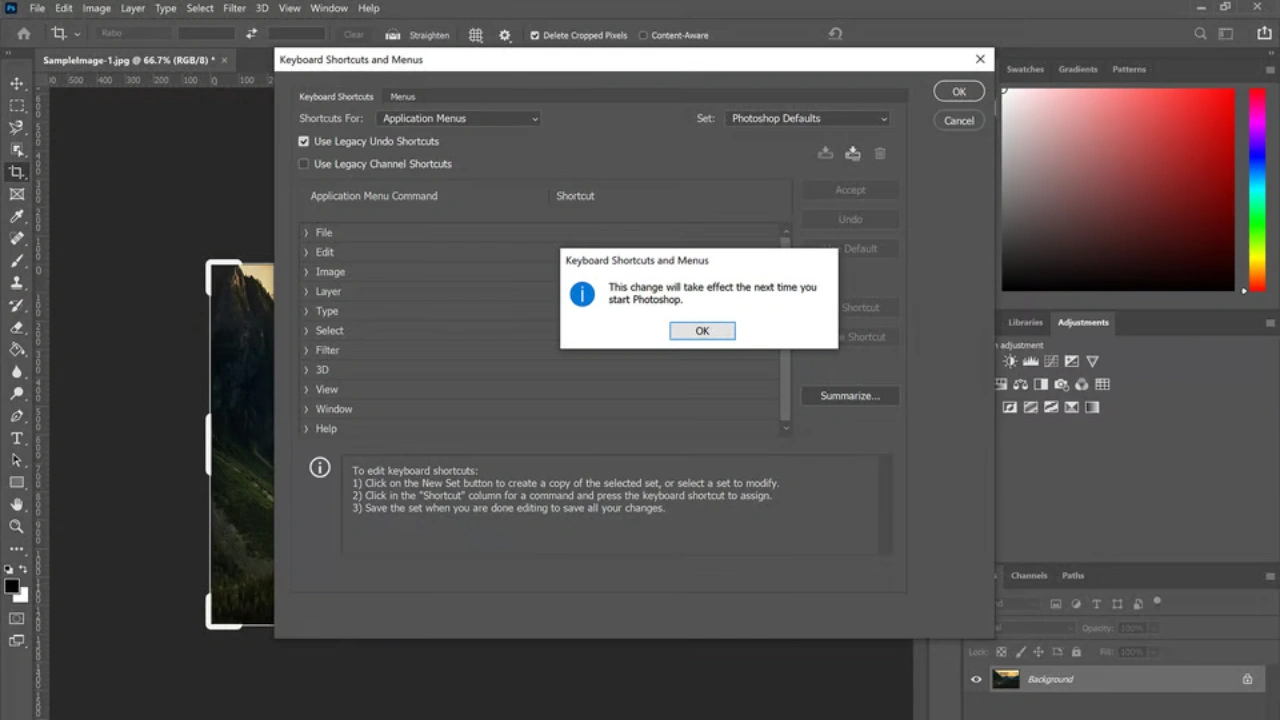
You can customize keyboard shortcuts in Photoshop to match your workflow.
Go to the top menu and click Edit > Keyboard Shortcuts.
In the Keyboard Shortcuts panel, find the command you want to change, then press your preferred key combination to set a new shortcut.
This helps you work faster and makes editing more comfortable based on your needs.
How to Redo in Photoshop
If you want to cancel an undo action, you can redo it easily. Just go to the top menu and click Edit > Redo.
But using the menu is not the fastest way. The quicker option is the keyboard shortcut:
Ctrl + Shift + Z (Windows) / Command + Shift + Z (Mac)
You can press this shortcut multiple times to redo several steps.
You may also notice the Toggle Last State option in the Edit menu. The shortcut for this is:
Ctrl + Alt + Z (Windows) / Command + Option + Z (Mac)
This option lets you switch back and forth between undo and redo, which can be very useful when comparing changes.
How to Revert in Photoshop
Photoshop has a useful feature that lets you go back to the last saved version of your file instantly.
To use it, go to the top menu and click File > Revert.
If you have opened an image and made changes but haven’t saved them yet, this option will restore the image to its original state when you first opened it.
The shortcut for this action is F12. However, sometimes this key may not work properly due to system shortcut conflicts.
If you want a smoother workflow, you can also use creative tools like TourBox. It allows you to assign actions like Undo, Redo, and Revert to custom buttons, so you can work faster and more comfortably without remembering multiple shortcuts.
Using the right tools can greatly improve your editing speed and overall experience.
How to Undo & Redo in Photoshop Using the History Panel
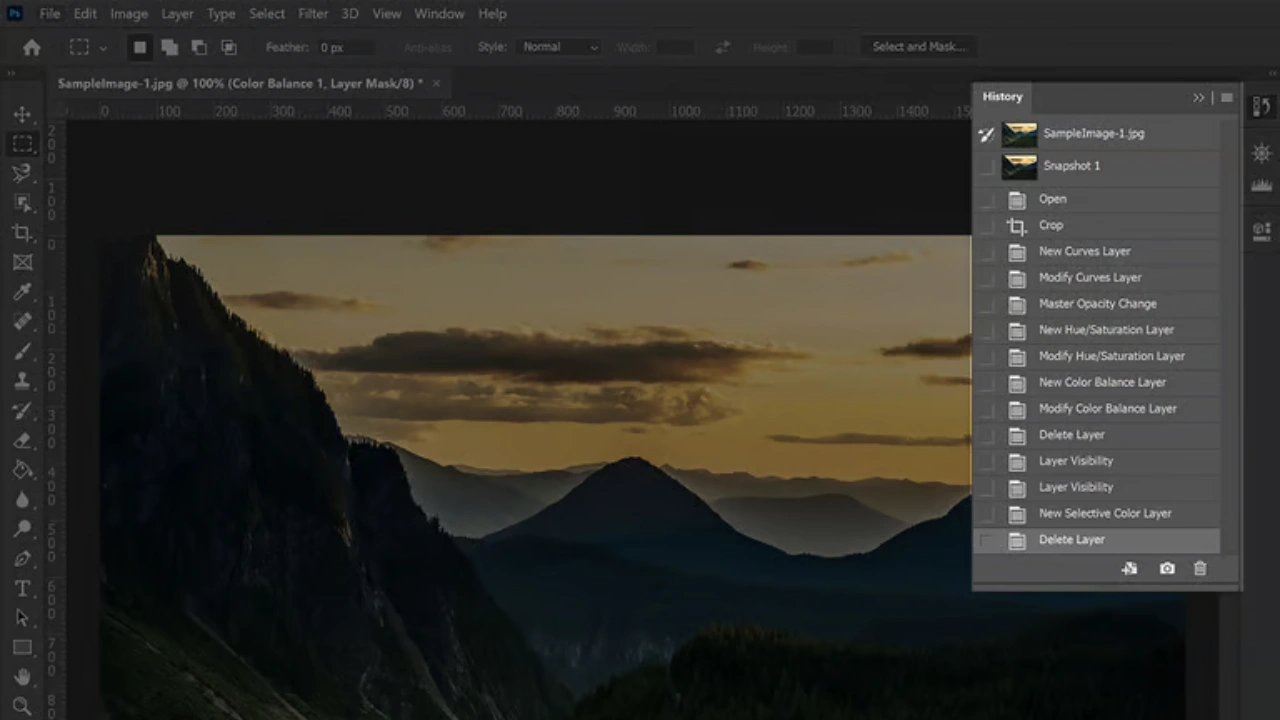
Besides basic undo and redo commands, Photoshop offers a more flexible option called the History Panel.
To open it, go to the top menu and click Window > History.
The History Panel shows a list of your recent actions. You can click on any step to go back or forward instantly. This makes it much easier to move across multiple edits instead of undoing one step at a time.
It also gives you more control and a clearer view of your editing process. For creative effects, you can even use the Art History Brush Tool to paint from previous states.
Legacy Undo Shortcuts in Photoshop
If you’ve been using Photoshop for a long time, you may remember that the Undo feature worked differently in older versions.
Before Photoshop CC 20.0 (released in 2018), the Undo command did not work the same way as it does today. Instead, it behaved like the current Toggle Last State feature, switching back and forth between your last action.
At that time, Adobe provided a separate command called Step Backward, which allowed you to undo multiple steps—just like the Undo function works in modern Photoshop versions.
Today, Photoshop has simplified this process by combining these functions, making it easier and more intuitive to undo multiple actions using a single shortcut.
The History Panel in Photoshop
To quickly undo one or two recent changes, you can use Ctrl/Command + Z or the Undo option from the Edit menu. However, when you need to go back multiple steps, the History Panel is the better tool.
You can open it by going to Window > History. This panel shows a list of all your recent edits, known as history states. As you work, each change is recorded, and you can simply click on any step to return your image to that point.
Unlike undoing step by step, the History Panel allows you to jump back to any previous state with a single click, making it much faster for larger edits.
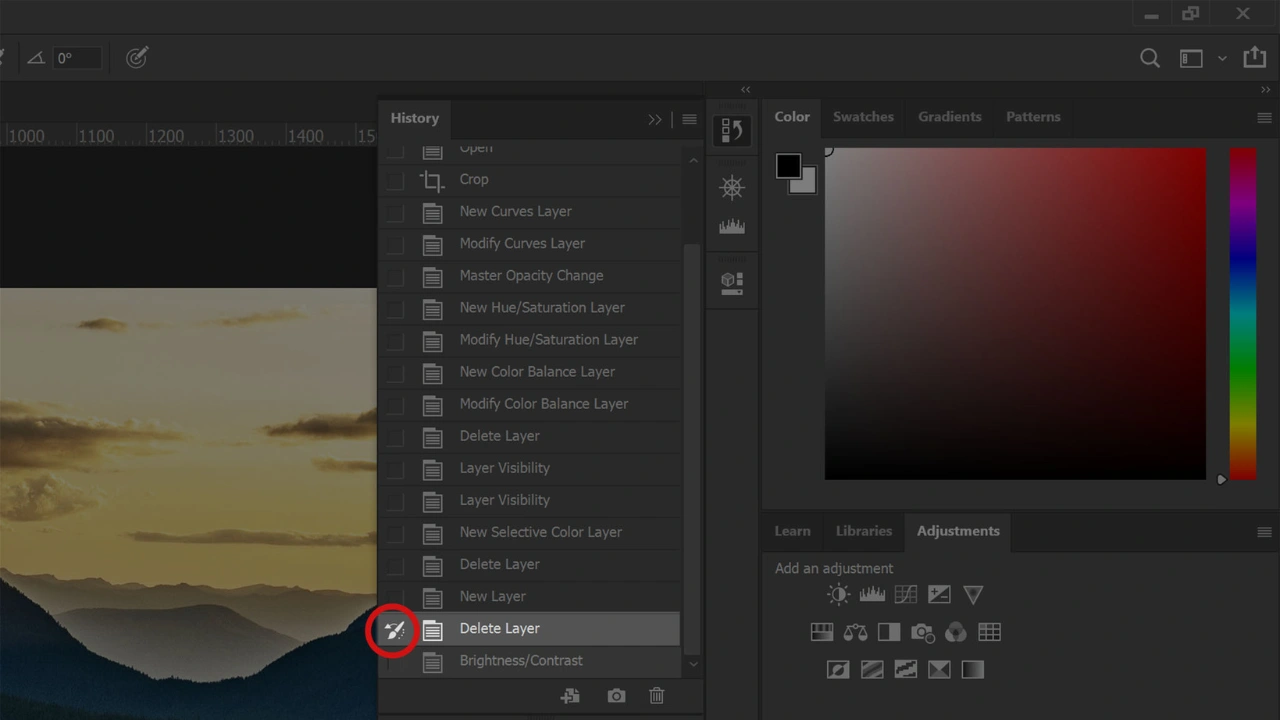
Snapshots in the History Panel
The History Panel also lets you create snapshots, which act like bookmarks of your work at a specific moment.
To create a snapshot, click the camera icon at the bottom of the History Panel. Snapshots appear at the top of the panel, and clicking one will instantly restore your image to that saved point.
This is especially helpful when comparing different edits or saving key stages before making major changes.
History States Limit
By default, Photoshop stores around 50 history states, though this can vary depending on your settings. Keep in mind that each action—such as brush strokes or tool uses—counts as a separate state.
You can adjust this limit in Edit > Preferences > Performance, but increasing it may affect your computer’s performance. On slower systems, reducing the number can help Photoshop run more smoothly.
Important Note
History states and snapshots are stored in temporary memory and are not saved with your file. Once you close Photoshop or your document, this history is lost. That’s why saving your work regularly is very important.
History Brush Tool
The History Brush allows you to apply changes from a previous history state to only a selected area of your image.
For example, if you made a global adjustment but want to undo it only in a specific area (like the sky), you can use the History Brush to paint back the earlier version in just that region.
To use it, select a history state by clicking the box next to it in the History Panel—this sets the source for the History Brush. Then you can paint over the areas where you want to restore that version of the image.
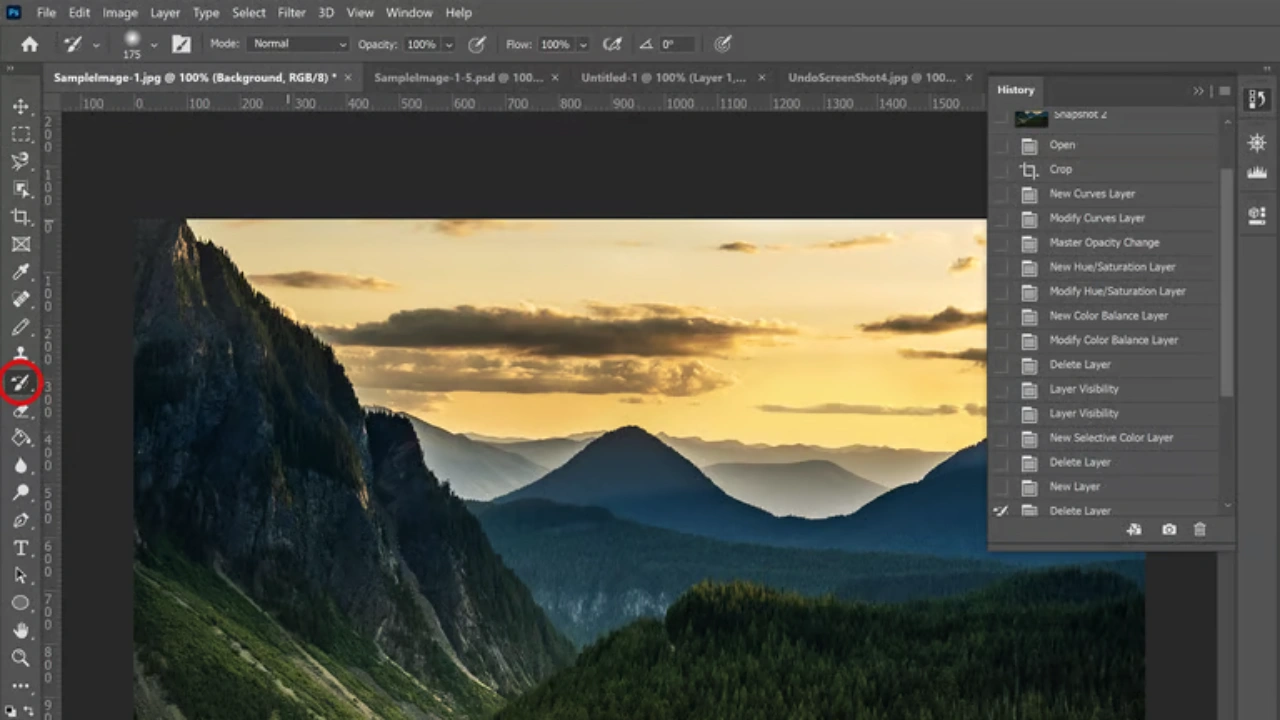
Select the History Brush Tool from the Tools Panel to apply a previous history state to only a specific part of your image. This allows you to paint back an earlier version of your work in selected areas without affecting the entire image.
Layers in Photoshop
Whenever you make major changes to an image, it’s best to work on a new layer. Using layers helps you keep your edits organized and non-destructive. However, using too many layers can increase file size and may affect performance, especially on slower computers.
A good rule is: if a change would take more than a couple of minutes to redo, place it on a separate layer. This way, you can easily adjust, hide, reduce opacity, or even delete that layer without affecting the rest of your work.
When you first open an image in Photoshop, it’s recommended to duplicate the background layer. This ensures you always have the original image محفوظ and can return to it if needed.
For tasks like cloning, healing, or patching, working on separate layers is especially useful because it allows you to edit, mask, or undo those changes independently.
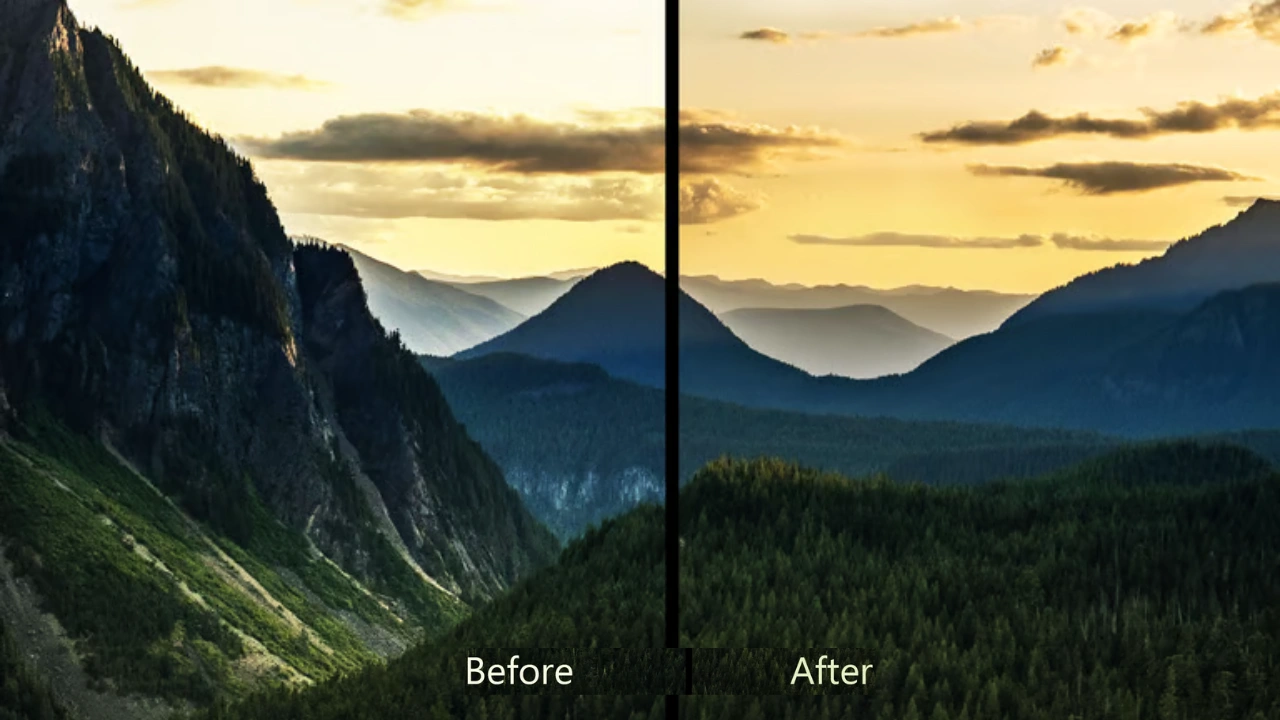
Layer Visibility
In the Layers panel, each layer has an eye icon. Clicking this icon turns the layer on or off, making it visible or hidden.
This feature lets you compare edits easily by toggling the visibility of a layer without permanently undoing anything. Unlike undo/redo, which only shows the most recent change, layer visibility allows you to review all edits applied within that layer.
You can also keep a layer hidden and return to it later, giving you more flexibility and control over your editing process.
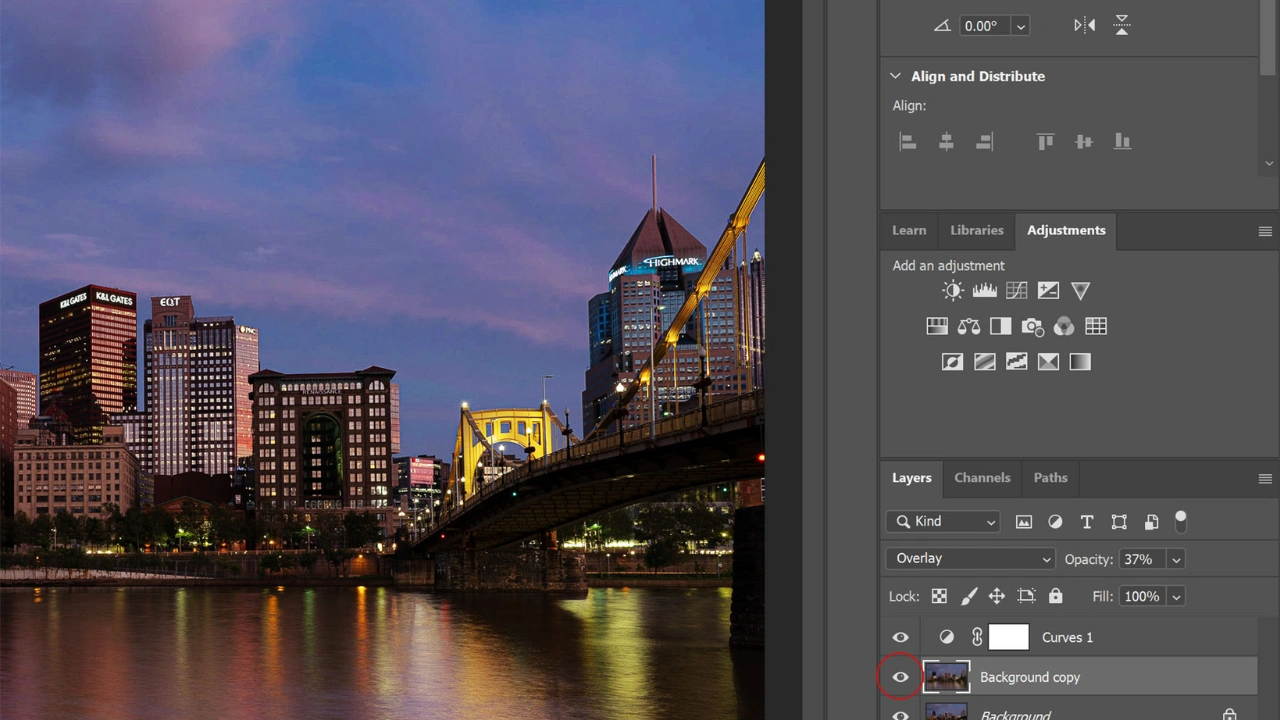
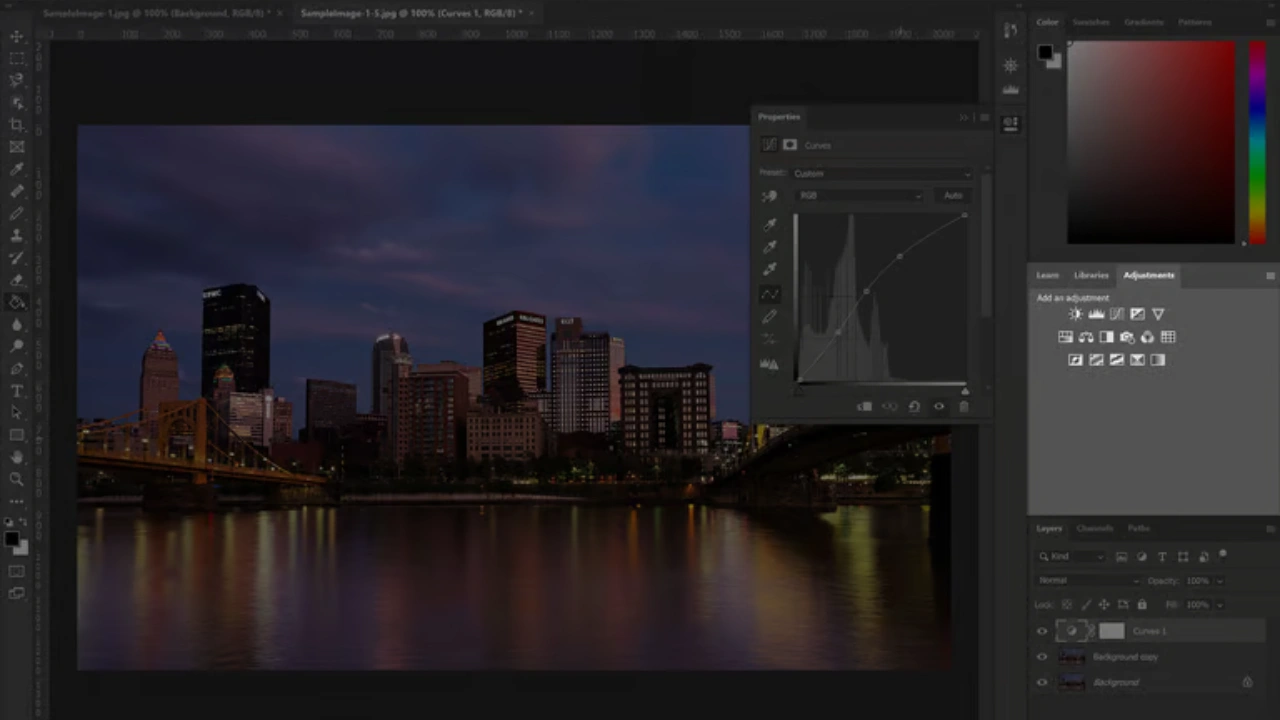
Adjustment Layers in Photoshop
When editing images in Photoshop, many of the options found in the Image > Adjustments menu are also available as Adjustment Layers.
If you apply adjustments directly from the Image menu, the changes are permanently applied to the image. However, when you use Adjustment Layers, the changes are applied on a separate layer instead.
You can access Adjustment Layers from the Layers panel (or open the Adjustments panel via Window > Adjustments).
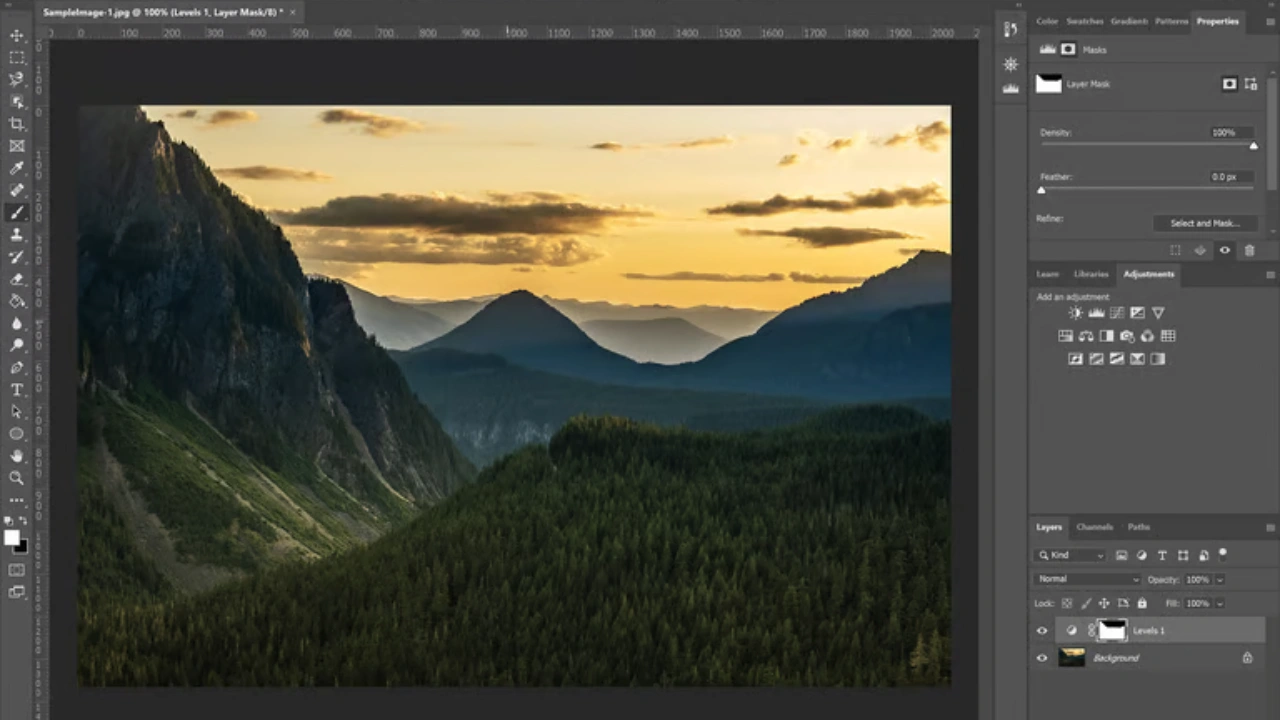
Layer Masks in Photoshop
A layer mask lets you hide or reveal parts of the changes you’ve made to an image. You can apply a layer mask to any layer, and adjustment layers already include a mask by default.
For example, if you brighten an entire image but want to remove that effect from the sky, you could use the History Brush. However, that method is destructive.
A better, non-destructive approach is to use an adjustment layer to apply the brightness change, and then use a layer mask to hide the effect from the sky area.
The key advantage of layer masks is flexibility—you can modify them at any time without permanently affecting your image. This makes them an essential tool for precise and professional editing.
The advantage of using Adjustment Layers is flexibility. You can:
- Edit the adjustment at any time
- Adjust the opacity of the effect
- Use layer masks to apply changes to specific areas
- Delete the adjustment without affecting the original image
This non-destructive workflow allows you to experiment freely and make changes even after continuing with other edits, giving you full control over your image adjustments.
How to Set the Undo Levels in Photoshop
Sometimes you may notice that Photoshop only allows a limited number of undo steps. This is because of the History States limit.
To change it, follow these steps:
- Go to Edit > Preferences > Performance
- In the Performance panel, find the History States option
- Increase or decrease the number based on your needs
Keep in mind that higher history states use more memory. So, if you increase the number, make sure your computer can handle it smoothly.
Adjusting this setting helps you get more flexibility while editing without slowing down your system.
Why Can’t Photoshop Have Unlimited Undo?
You might notice that even at the highest setting, Photoshop can only undo up to 1000 steps. So why isn’t unlimited undo possible?
The main reason comes down to how Photoshop handles edits.
There are two types of editing: destructive and non-destructive.
Non-destructive editing (like in Lightroom or mobile apps) saves changes as simple settings—such as brightness or color adjustments. These take very little space, so storing many steps is easy.
But Photoshop mostly uses destructive editing, which means it changes the actual pixels of the image. Every time you make an edit, Photoshop has to store a large amount of image data to allow undo.
Because of this, each history step can take up a lot of memory.
In theory, unlimited undo is possible—but it would require a huge amount of storage and RAM. For large files (sometimes over 1GB), saving hundreds or thousands of steps could take up massive space, even reaching terabytes.
In reality, having unlimited undo isn’t very useful. Most users don’t need that many steps, and it would slow down performance significantly.
That’s why Photoshop sets a limit, balancing flexibility and system performance.
Frequently Asked Questions About Undo & Redo in Photoshop
Can you undo actions after closing Photoshop?
No, you can’t. Once Photoshop is closed, any unsaved changes are lost. That’s why it’s important to save your work regularly while editing.
How many undo steps are available in Photoshop?
By default, Photoshop allows around 20 undo steps. However, you can increase this number by adjusting the History States in the Performance settings.
What actions can be undone in Photoshop?
Almost everything can be undone, including moving layers, applying filters, adjusting colors, and more. This makes editing flexible and stress-free.
Product Recommendation
If you want to improve your workflow, you can try tools like TourBox Lite. It helps you control actions like undo and redo more easily, making your editing faster and more comfortable.
Conclusion
Photoshop provides several powerful ways to undo and manage your edits. The fastest method for stepping back through recent changes is the keyboard shortcut Ctrl/Command + Z. In newer versions of Photoshop, this allows you to undo multiple steps easily.
If you need to go further back in your editing history, the History Panel is the best option. It lets you jump to any previous state with a single click and also works with the History Brush Tool, which allows you to undo changes only in specific areas of your image.
However, the most efficient and professional workflow is to plan ahead by using layers and adjustment layers. These non-destructive methods allow you to isolate edits, make changes anytime, or even delete them without affecting the rest of your work.
By combining shortcuts, the History Panel, layers, and masks, you can maintain full control over your edits and work much more efficiently.
Need your photography flawlessly edited to take your ecommerce business to the next level? Contact Cutout Partner for perfect, high-quality editing that saves you time, reduces hassle, and helps you achieve professional results with ease.