In product photography, the right camera angle can make all the difference between an ordinary image and a powerful visual that drives sales. Every angle tells a story, highlights unique features, and shapes how customers perceive a product. As a top-level photo editing agency, Cutout Partner understands how important it is to combine perfect shooting techniques with expert post-production. With years of experience and a skilled team, we help photographers and brands enhance their images for maximum impact. In this blog, we’ll explore essential camera angles in product photography and how they can elevate your visuals to a professional level.
What is an Camera Angle in Product Photography?
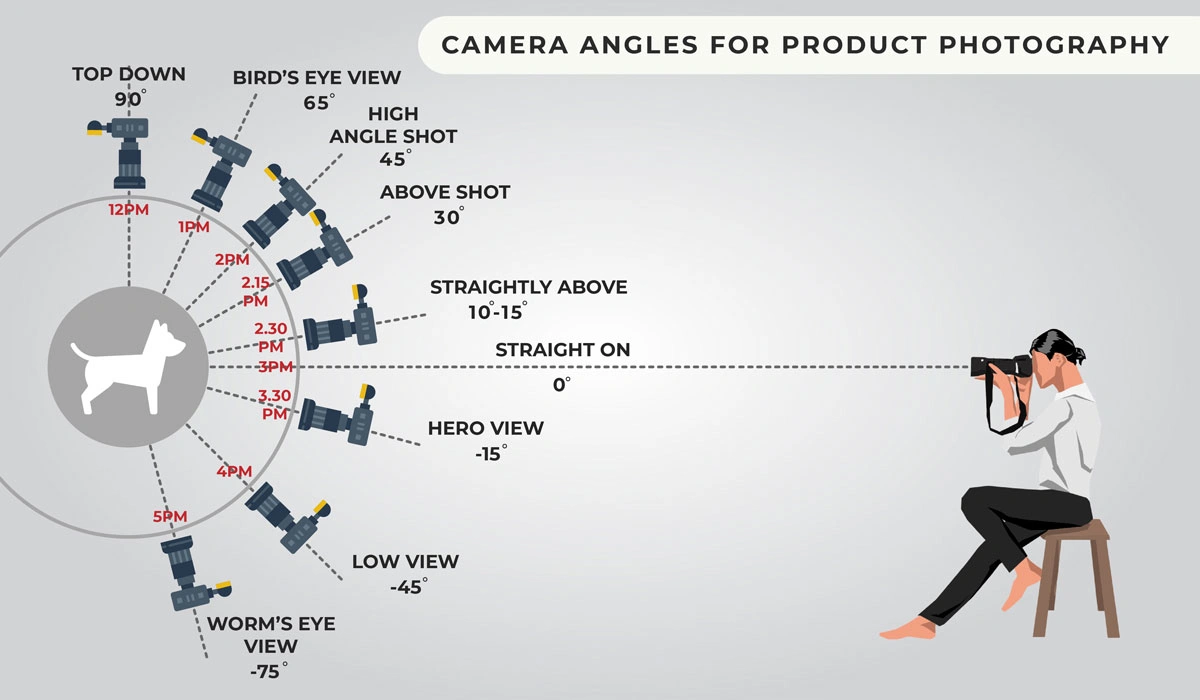
The angle of a photo refers to the position of the camera in relation to the product. In simple terms, it describes where the camera is placed when capturing the image. Depending on the angle you choose, the same product can look completely different. A skilled product photographer understands which angles work best for different shapes, styles, and concepts. Even so, it’s always helpful to discuss options with clients, as fresh ideas can sometimes lead to better visual results.
What are the Three Angles of Product Photography?
Photographers may describe angles in different ways, but generally, three main angles are commonly used in product photography:
Straight-On
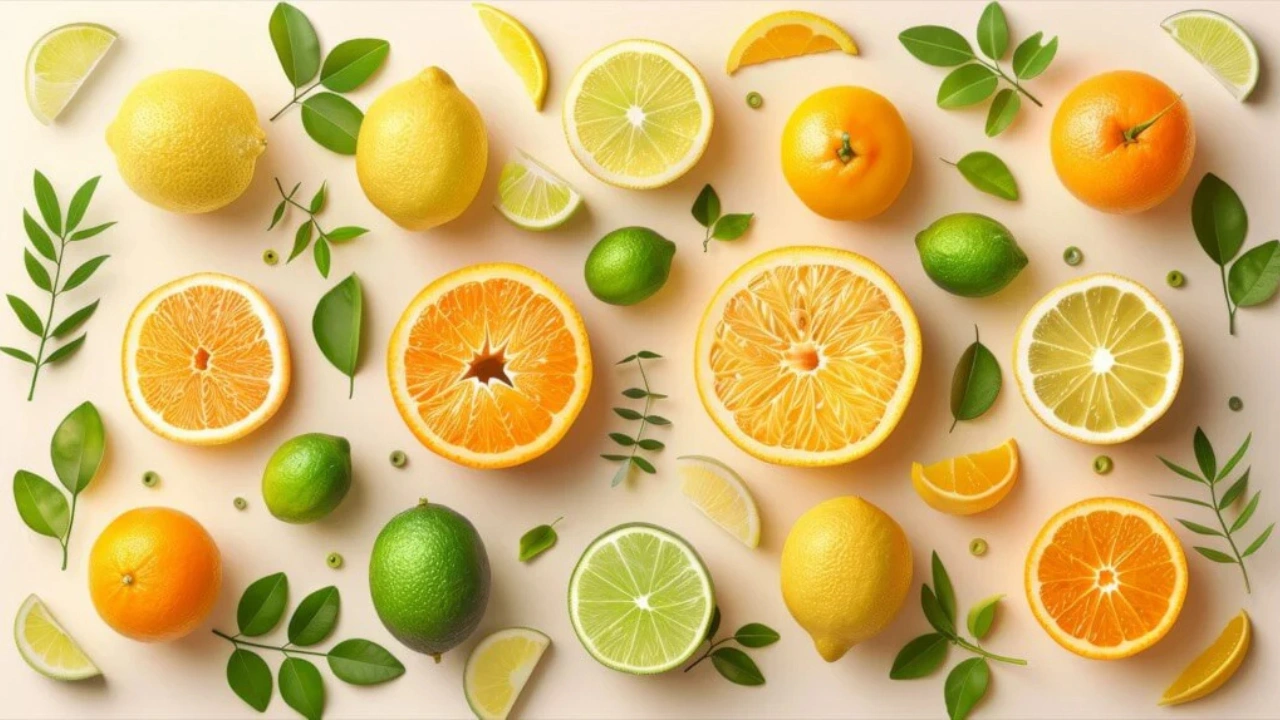
In this angle, the camera is placed directly in front of the product at the same height. It’s ideal for capturing packaging and products that stand upright. This angle works especially well for items like layered food (cakes, sandwiches, parfaits) and smaller products, as it can make them appear larger and more prominent in the frame.
Flatlay
In a flatlay setup, the camera is positioned directly above the product, looking straight down. The product is placed flat on the surface. This angle is commonly used in food photography and styled scenes, such as table setups or detail shots. While it may not suit every product due to lighting and positioning challenges, it is very effective for capturing organized compositions and visual storytelling.
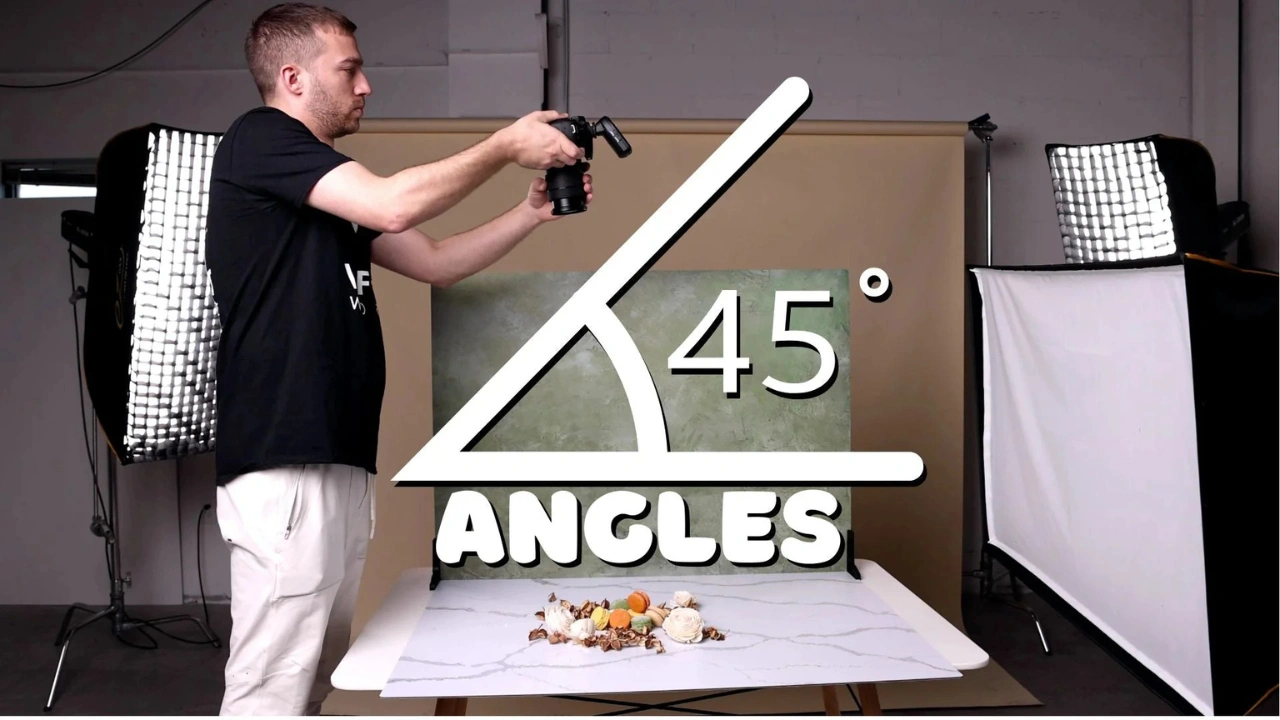
45 Degree
The 45-degree angle is often considered the most versatile and balanced option. Here, the camera is placed slightly above the product, allowing you to capture its height, sides, and surrounding scene in one frame. This angle works well for product, food, and lifestyle photography, making it a popular choice for many photographers.
What is the Dual View in Product Photography?
The Dual View in Product Photography refers to a technique where a product is shown from two different perspectives within the same image or composition. Instead of relying on a single angle, the photographer combines multiple viewpoints—such as front and side, or top and angled views—to give viewers a more complete understanding of the product.
This approach is often used to highlight important details that may not be visible from just one angle. For example, a product’s packaging might be shown from the front to display branding, while a second angle reveals texture, shape, or additional features. It can also be achieved by placing two images side by side or creatively merging them into one frame.
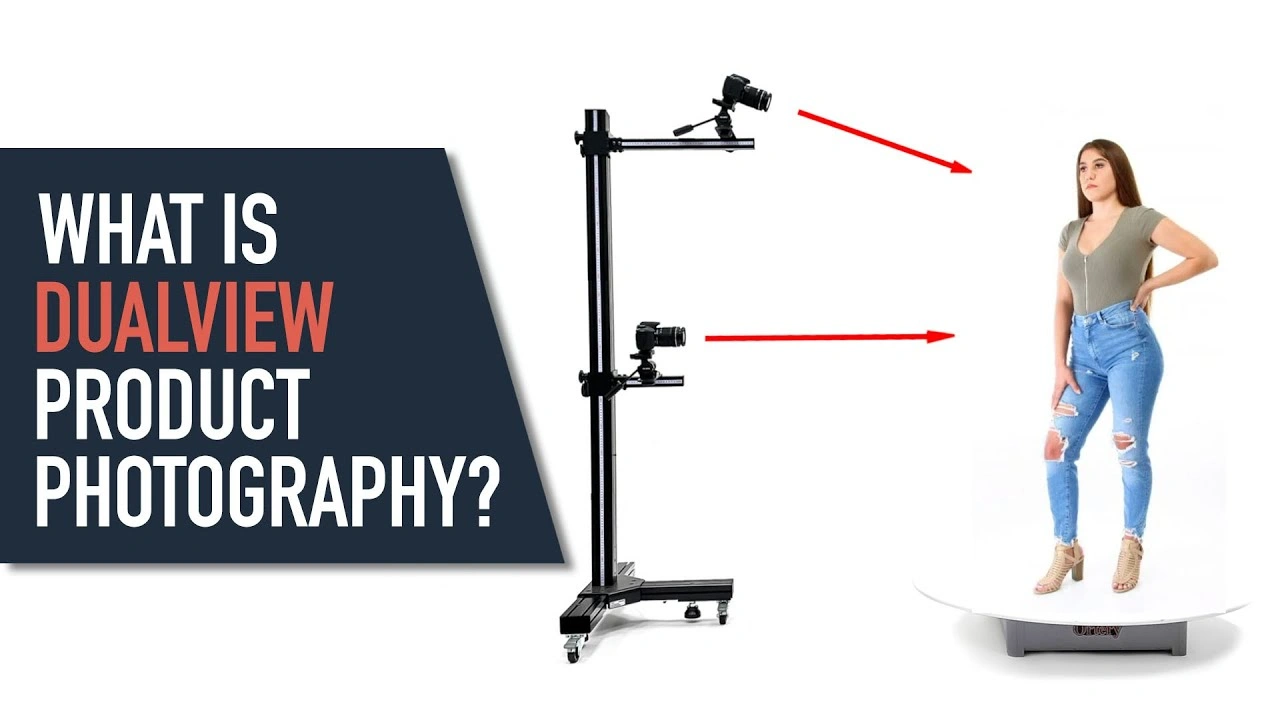
The dual view is especially useful in eCommerce and marketing, where clarity and detail help customers make informed purchasing decisions. By showing more than one perspective at once, it reduces uncertainty and enhances the overall presentation of the product.
In short, the dual view is a creative and informative way to present products by combining multiple angles into a single visual for better storytelling and clarity.
The Straight-On (Front Angle)
Pretty simple, right? Yes—and that’s what makes this angle so useful. The straight-on angle is one of the most flexible options in product photography because it gives you plenty of freedom to build your scene creatively. When you shoot directly from the front, you can easily play with height and depth. For example, you can place objects closer or farther from the camera to guide attention, or stack items to create layers and lead the viewer’s eye through the image.
This angle works great for eCommerce photos, especially when the product label needs to be clearly visible. It’s also perfect for group shots, website banners, and tall products where you want to show the front and sides. Think of items like burgers or layered desserts. The biggest advantage? It keeps the focus right on the product—simple, clear, and attention-grabbing.
The “Angled” Shot (Focus On Product)
This is one of the most popular and creative angles in product photography. As the name suggests, it covers anything between a 25 to 75-degree angle—basically the space between a straight-on shot and a top-down view. Whether you shoot slightly from the side or from the front, this angle instantly adds depth and visual interest to your photos.
It has a natural and “playful” feel while still looking realistic. It’s similar to how we normally look at objects on a table—slightly from above, not completely flat. This makes the product feel more relatable and easier for viewers to connect with.
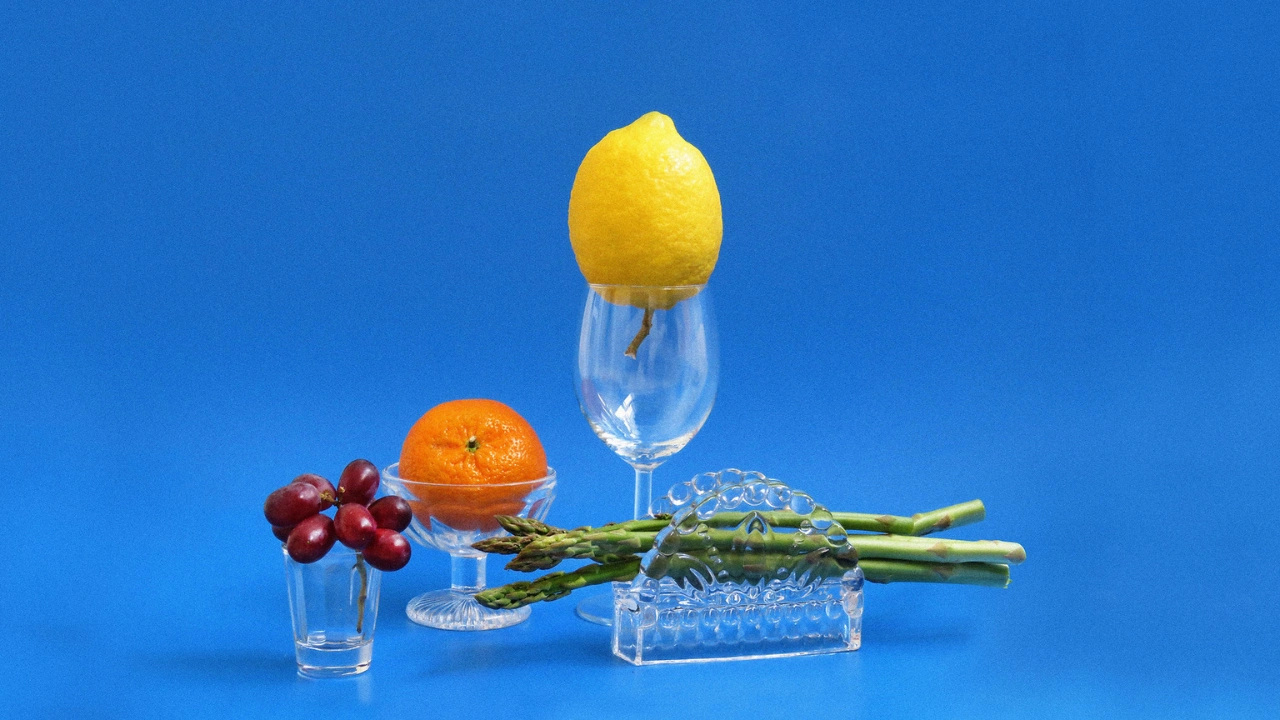
One big advantage of this angle is that it lets you show multiple sides of a product at once. For example, you can capture both the label and texture of a product, or show the top garnish of a drink along with the side of the glass. This makes your images more informative and visually appealing.
This angle works especially well for skincare products, food and drinks, tabletop setups, and styled scenes. However, be careful with steeper angles (like 45 to 75 degrees), as they may focus too much on the top of the product and hide important details like labels.
The Hero Shot (State Angle and Low Angle)
This angle is all about making your product the star. Just like in movies where heroes are filmed from below to look strong and powerful, a low-angle shot can give your product that same bold and impressive feel. By placing your camera lower and shooting upward, the product appears bigger, taller, and more eye-catching.
This angle is perfect when you want your product to stand out and feel important. It naturally draws attention and gives a sense of confidence and strength to the image.
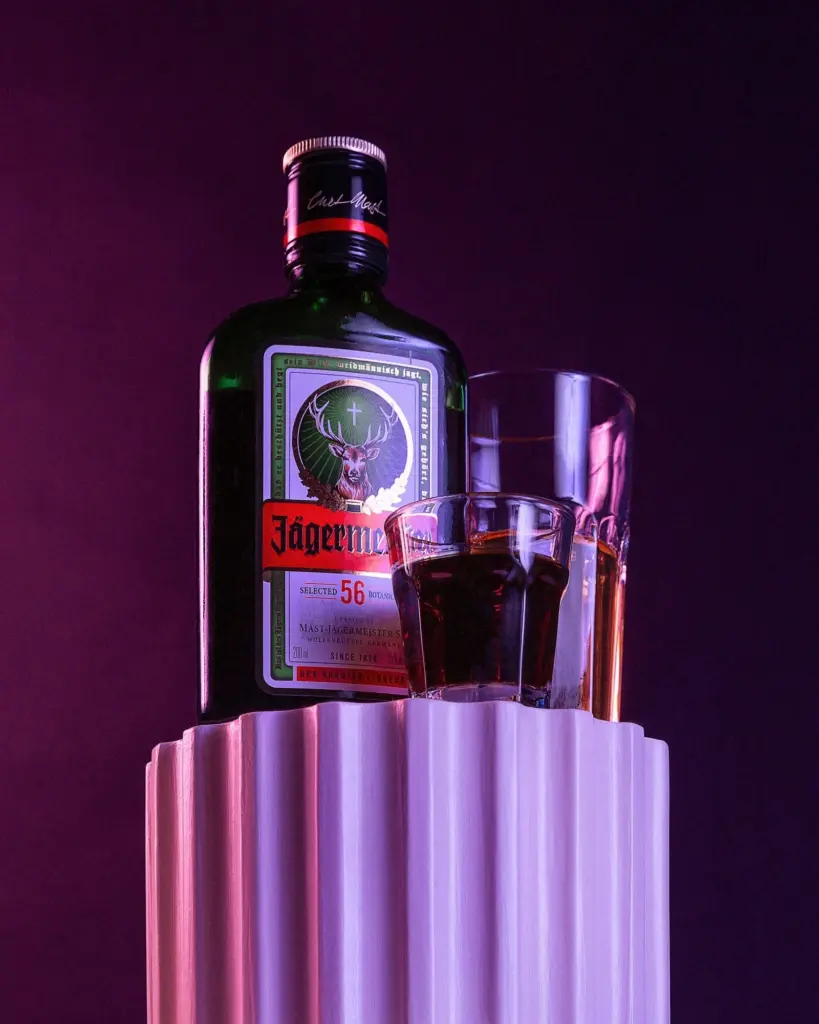
You can use this shot for many types of products, especially if you can lift or support the item using a block, stand, or glass surface. The angle doesn’t need to be very dramatic—even a slightly lower position can create a strong visual impact. It’s a simple way to add power and style to your product photos.
The Flat-Lay (Overhead Angle)
This angle became very popular through social media, especially Instagram, and for good reason. The flat-lay (overhead) shot allows you to capture products directly from above, giving you plenty of freedom to arrange items creatively. You can experiment with layouts, props, colors, and spacing to create visually appealing compositions.
However, this angle can also feel a bit limiting at times. Depending on the product, showing only the top view may not fully explain what the item is. In some cases, viewers might find it harder to understand the product if key details like labels or sides are not visible. This is why certain products need to be adjusted or even photographed from a different angle to clearly show their features.
Despite that, flat-lay photography can be a fun creative challenge. You can enhance your images by adding layers, stacking items, or using textured backgrounds like fabric or wood. These elements help create depth and prevent the image from looking too flat.
Flat-lay shots work especially well for foods where the details are visible from the top, styled table scenes, pattern-based compositions, texture-focused shots, ingredients, and lifestyle setups like “what’s in my bag.”
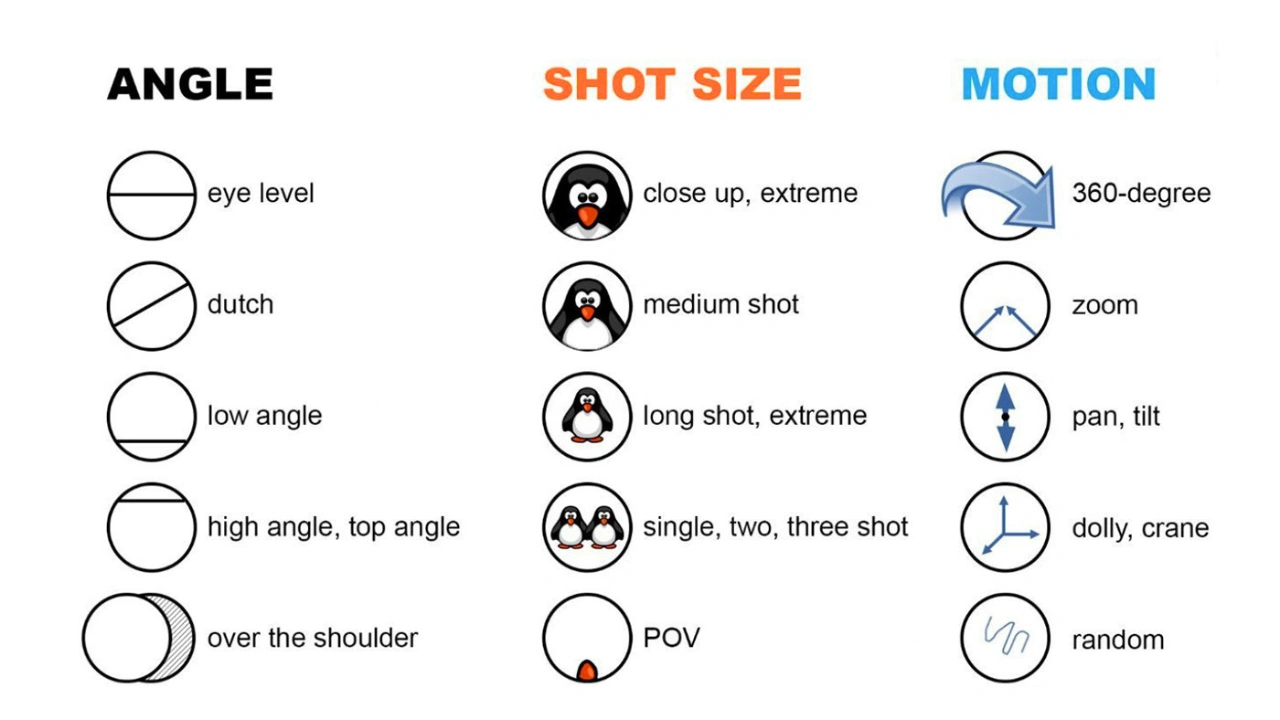
The Dutch Angle (Dutch Tilt)
This is a fun and creative angle that isn’t used very often in product photography, mainly because it can make the scene feel slightly unbalanced. However, when used correctly, it can produce a very unique and visually interesting result. The Dutch angle, also known as the Dutch tilt, involves tilting the camera so the horizon is no longer straight.
At first, this may feel unusual since most photography is done with a level and balanced frame. But this technique has been widely used in films to create a sense of movement, energy, or a slightly different perspective of the scene.
In product photography, the Dutch tilt won’t suit every product or situation. Its effectiveness depends on the style you want to achieve and the type of project you’re working on. It works best when you want something more creative, edgy, or eye-catching.
By using this angle, you can present your product in a fresh and unexpected way, giving viewers a perspective they don’t normally see.
The Macro Shot (Close-Up)
Last but not least is the macro shot. While it’s not exactly a traditional angle, it’s an important type of shot that can be used alongside the other angles we’ve discussed. A macro shot focuses on capturing very close details of a product, helping you highlight textures, patterns, and fine features that may not be visible from a wider view.
This type of shot brings the viewer closer to the product, almost as if they can touch and feel it. It’s especially useful for showcasing materials, craftsmanship, and small design elements that make a product unique. Macro images often work well as supporting visuals to complement your main product shots.
In the end, product photography is all about how you present your subject and the story you want to tell. Don’t hesitate to try different angles and close-up shots, even those you don’t usually use. Exploring new perspectives will not only improve your creativity but also help you create more engaging and professional-looking images.
How do I decide what angle to use for product photography?
Choosing the right angle for product photography starts with understanding your subject. Some products simply don’t look good from certain perspectives. For example, a burger photographed from directly above would mostly show the top bun, hiding its layers. In such cases, a straight-on or 45-degree angle works better because it reveals the product’s structure and true appearance.
Next, consider the overall scene or setup. Are you shooting a lifestyle image with props like groceries on a countertop, or is the product placed neatly on a table? The purpose and styling of the shot often guide which angle will work best. For example, a styled table scene may look more natural from a 45-degree or overhead angle, while a clean product display may suit a straight-on view.
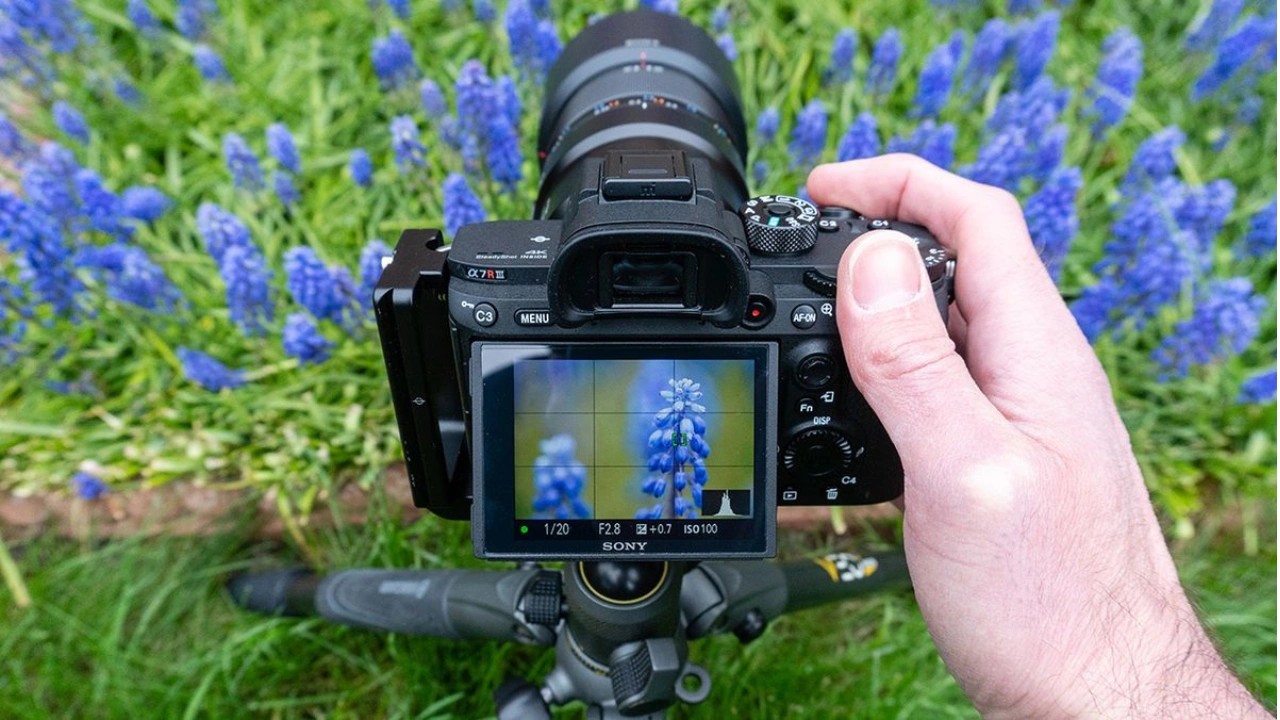
Lighting is another important factor. Before finalizing your angle, try a test shot to see how the light interacts with the product. Certain lighting setups may work well from one angle but not from another. Staying flexible and adjusting your position can help you achieve the best result.
What are some examples of angles in product photography?
- A straight-on angle places the camera at the same height as the product, helping to clearly show its size, shape, and details. This is great for packaging and layered items like pancakes or desserts.
- A flatlay angle is captured from directly above. This works well for arranged food scenes or table setups, where the goal is to show everything laid out clearly.
- A 45-degree angle is taken slightly above the product. It allows you to capture both the top and sides, making it one of the most balanced and versatile options for product shots.
Camera Angles Every Product Photographer Should Know Quick Summary
Taking great product photos is more than just clicking a picture—it’s about telling a story. Every shot can highlight features, show textures, and catch a buyer’s attention. The key? Choosing the right camera angle. The way you photograph a product can completely change how people see it, turning something simple into something eye-catching and appealing.
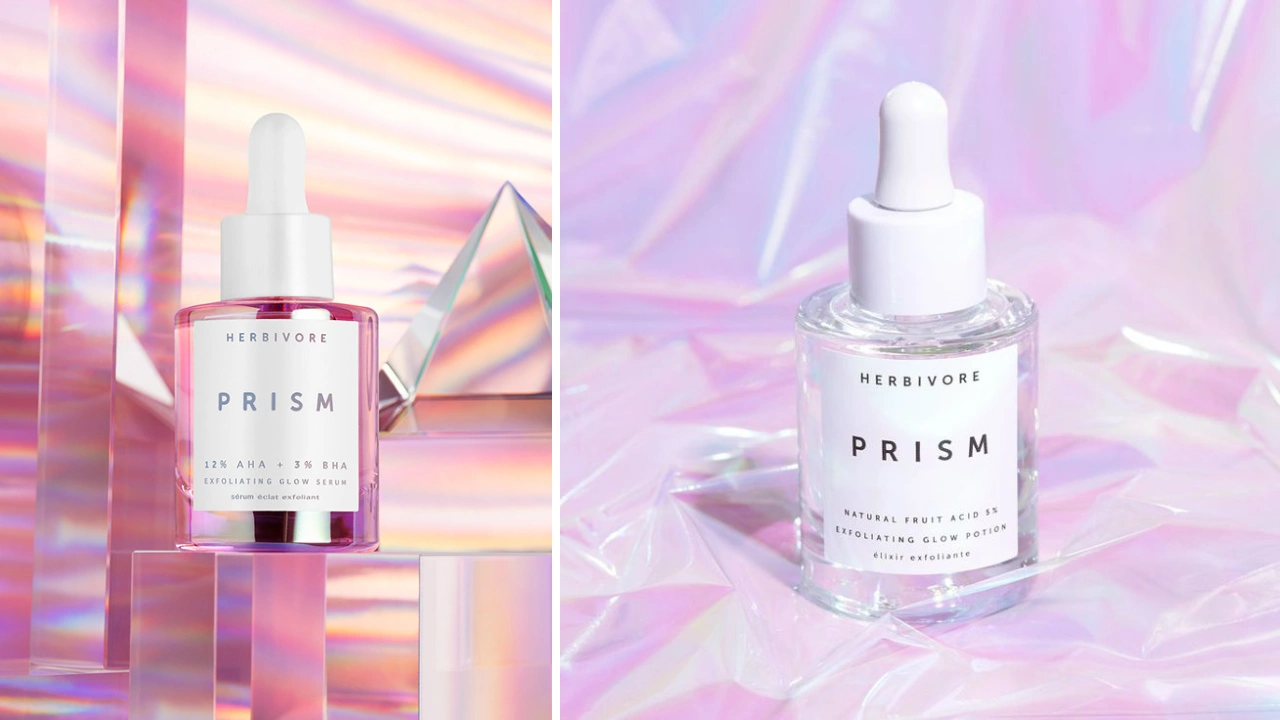
Different angles create different effects. Some make a product look bigger, others bring out fine details, and some add a creative touch that makes your brand stand out. For example, a low angle can make a skincare bottle look premium and powerful. A close-up of a handmade mug can show its texture and give it a cozy, handmade feel.
In this guide, you’ll learn the most important camera angles every product photographer should use. These techniques will help you create better images that connect with your audience.
Low Angle
A low angle makes your product look strong and important. It’s like how tall buildings look powerful when photographed from below.
Place your camera below the product and shoot upward. This works well for luxury items, furniture, or anything you want to look high-end. Use good lighting to avoid dark shadows and highlight the product’s shape and shine.
Flat Lay
Flat lay photos are taken from directly above. This style is clean and organized, perfect for products with multiple items like cosmetics or office supplies.
Use a steady setup to keep your camera still. Add simple props and backgrounds to make the image more attractive.
Tip: Keep balance in mind—mix colors, shapes, and sizes to guide the viewer’s eye.
Close-Up or Macro
Close-up shots focus on small details. This is great for showing textures like fabric, jewelry shine, or product finishes.
Use a macro lens for sharp detail. Keep the background simple and use soft lighting to avoid harsh shadows.
Over-the-Shoulder View
This angle shows the product being used. It helps viewers imagine using it themselves.
Place the camera slightly behind a person holding the product. Keep the focus on the item and avoid too many props.
Tilted (Dutch) Angle
A tilted angle adds energy and creativity. It works well for bold or modern products like fashion or sports gear.
Tilt your camera slightly, but don’t overdo it. Keep the composition balanced.
Perspective Shot
This angle adds depth and shows how a product fits into real life.
Place the product in a natural setting, like furniture in a living room. Use angles that guide the viewer’s eye toward the product.
Eye-Level Angle
This is the most natural angle. It shows the product exactly as it is, making it perfect for online stores.
Keep your camera straight and level with the product for a clear and honest shot.
Hero Shot
The hero shot is the main image that grabs attention. It highlights the product in the best way possible.
Use strong lighting and a clean or bold background to make the product stand out.
Who Chooses Cutout Partner for Product Photography Editing for eCommerce
Cutout Partner is a top-leading photo editing agency trusted by businesses worldwide for high-quality product photography editing. In the competitive world of eCommerce, where visuals directly impact sales, having professionally edited product images is essential. Cutout Partner provides reliable and consistent editing solutions that help brands present their products in the best possible way.
eCommerce sellers choose Cutout Partner because of its expertise in delivering clean, sharp, and visually appealing product images. With a team of over 50 skilled Photoshop professionals, the company specializes in services such as clipping paths, background removal, color correction, image retouching, shadow creation, and ghost mannequin editing. These services ensure that every product image meets industry standards and attracts customer attention.
Online retailers, marketplace sellers, fashion brands, and photographers often rely on Cutout Partner to maintain consistency across their product catalogs. Consistency in image style, lighting, and background helps build a strong and trustworthy brand identity, which is crucial for converting visitors into buyers.
Another reason clients choose Cutout Partner is its fast turnaround time. In the fast-paced eCommerce environment, businesses need quick delivery without compromising quality. Cutout Partner’s efficient workflow ensures that bulk orders are completed on time, making it a dependable partner for growing businesses.
Cost-effectiveness is also a major advantage. Instead of maintaining an in-house editing team, businesses can outsource their editing needs to Cutout Partner at a more affordable rate, saving both time and operational costs.
Trusted by over 3,000 clients globally, Cutout Partner continues to support businesses with high-quality, scalable, and professional image editing services. For eCommerce brands looking to enhance product presentation and improve sales performance, Cutout Partner is a reliable and efficient choice.
Conclusion
Camera angles play a crucial role in product photography, as they directly influence how a product is perceived by viewers. The right angle can highlight important details, improve composition, and create a strong visual impact that attracts potential customers. From straight-on and flat-lay to 45-degree and low-angle shots, each perspective serves a unique purpose depending on the product and concept. By understanding when and how to use different angles, photographers can produce more engaging and professional images. Experimentation, creativity, and attention to detail are key to mastering camera angles and delivering high-quality product photography that stands out.