Have you ever seen a jewelry image that looks unnatural or fake? One where the diamonds seem overly bright and the gold appears too smooth, almost like glass?
Sparkle is important because it attracts customers, but too much of it can make the product look unrealistic. On the other hand, if there is too little sparkle, the jewelry may lose its appeal and fail to catch attention.
This is the main challenge in jewelry retouching—finding the perfect balance between realism and shine. Whether you are working on eCommerce product images or catalog photos, the goal is to present jewelry in a way that looks both attractive and trustworthy. Over-editing can reduce credibility, while under-editing can make the product less appealing.
In this guide, we will explore how to retouch jewelry images while maintaining a natural look and enhancing their sparkle. You will also learn how to improve diamond jewelry in Photoshop while preserving texture and color, ensuring your images look polished without appearing artificial. Let’s begin.
Why Jewelry Product Photo Retouching Is Essential for Online Sales
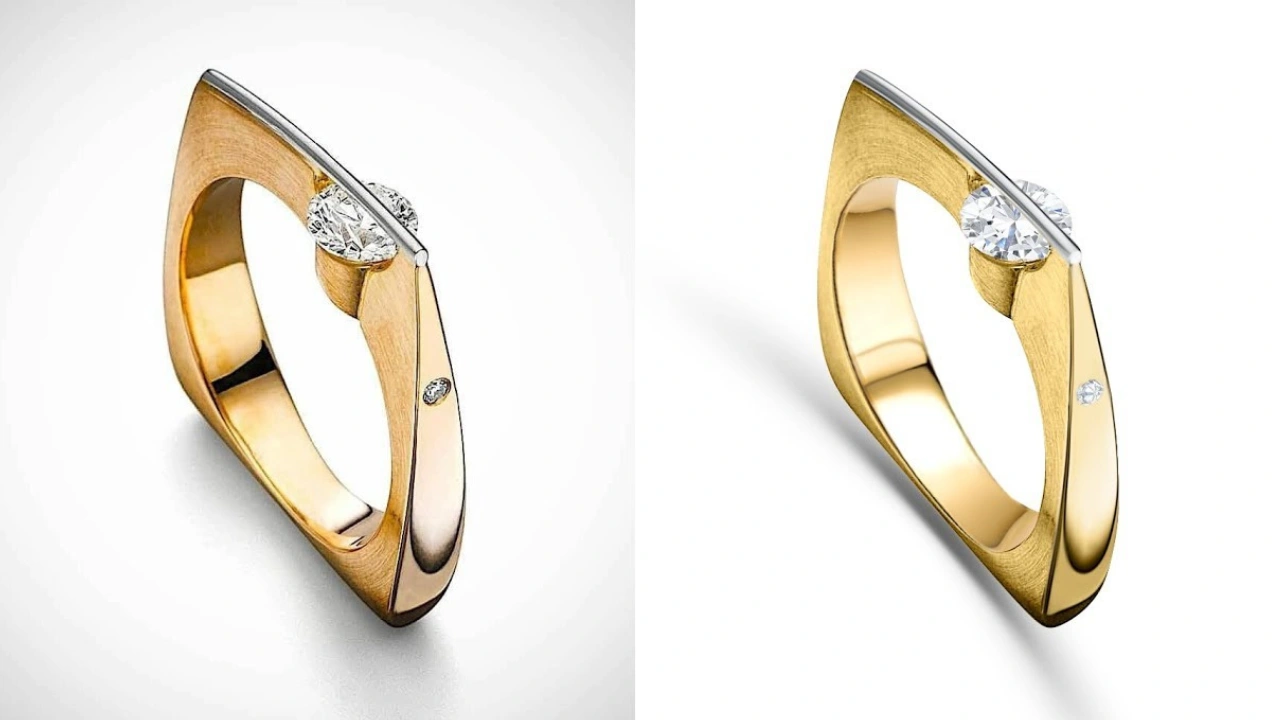
Jewelry product photo retouching is the process of cleaning and enhancing jewelry images to make them look clear, sharp, and appealing. Even professional photos can have issues like dust, fingerprints, reflections, or poor lighting. Retouching helps fix these problems and improves the overall quality of the image.
However, it’s important to maintain a balance between enhancement and over-editing. Retouching should improve the image by correcting colors, removing flaws, and adjusting lighting—without making the jewelry look unrealistic. Over-editing can make diamonds look overly bright or gold appear unnatural, which may mislead customers.
In online shopping, customers rely completely on product images to make their buying decisions. If the jewelry looks very different in real life compared to the photos, it can break trust and lead to returns or negative reviews.
Good retouching ensures that the jewelry looks clean, accurate, and true to life. At the same time, starting with a high-quality photograph is equally important. Proper lighting, a clean background, and correct camera settings can reduce the need for heavy editing.
In short, the best approach is to capture a strong original image and then use retouching to present the jewelry as realistically and beautifully as possible.
Setting Up for Success: The Role of Jewelry Product Photography
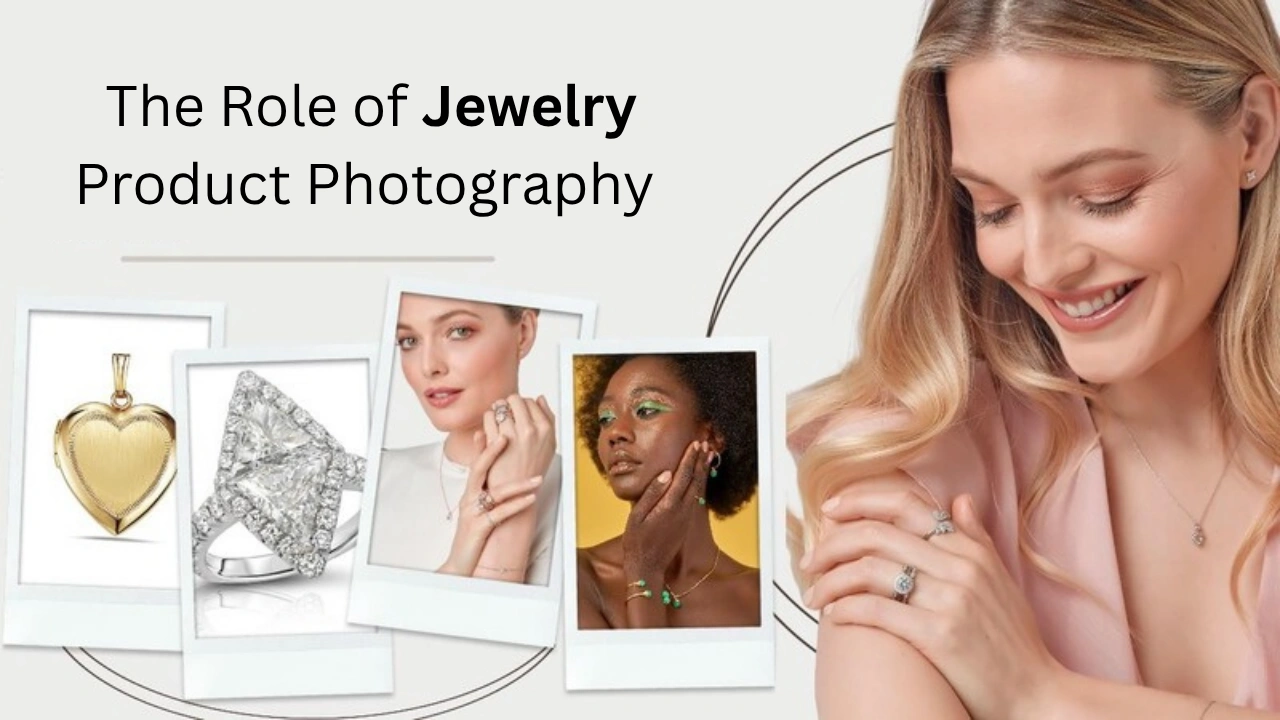
Great jewelry photography plays a key role in reducing the amount of editing needed later. A clear, sharp, and well-composed image saves time in post-production and helps produce better final results. Using a tripod is recommended to keep the camera steady and avoid blur. Setting a low ISO and a higher aperture helps capture fine details in the jewelry.
Lighting is one of the most important factors in jewelry photography. Placing soft lights at a 45-degree angle helps bring out the sparkle while minimizing harsh reflections and glare. Small spotlights or LED lights can be used to highlight gemstones and enhance their shine.
Additional tools like black cards can be used to add contrast and define the shape of the jewelry, while diffusers help soften reflections on shiny surfaces. Reflectors are useful for filling in shadows and illuminating areas such as under rings or between prongs.
It is also important to avoid mixing different types of lighting. Using consistent daylight-balanced bulbs ensures accurate color representation. Keeping the background simple and free from distractions allows the jewelry to stand out clearly.
In summary, when you focus on proper lighting, camera settings, and a clean setup, you reduce the need for heavy retouching. This results in more natural-looking images that are both efficient to produce and visually appealing.
Great jewelry photography means less editing later. A clean and sharp image saves time during post-production. Using a tripod helps keep the camera steady and avoids unwanted blur. Setting a low ISO and a higher aperture helps capture fine details clearly.
Lighting plays the most important role. Place soft lights at a 45-degree angle to highlight sparkle while avoiding harsh glare. To make jewelry sparkle naturally, you can use small spotlights or LED pen lights to focus on gemstones.
Use black cards to create contrast and define the shape of the metal. Diffusers help soften reflections on shiny surfaces, while reflectors can bring light back into darker areas, such as under rings or between prongs.
Avoid mixing different light sources. Stick to daylight-balanced bulbs for consistent color. Keep the background simple and remove any unnecessary elements so the jewelry remains the main focus.
The better your photography, the less retouching you will need. This results in faster workflow, cleaner images, and a more natural look.
The Sparkle Dilemma: Why Less is More
A common mistake in jewelry editing is adding too much sparkle. While many believe more shine makes the product look better, excessive sparkle can actually make the jewelry appear fake.
If you want to achieve a natural sparkle, start during the photography process. Use well-placed lighting to capture real reflections. This creates a natural shine that looks authentic and appealing.
Adding artificial glow or glitter during editing often hides important details and can make gemstones appear flat. Instead of building trust, it may create doubt in the viewer’s mind.
A better approach is subtle enhancement. Use tools like the dodge tool to gently brighten areas where light naturally falls. You can also add a light sparkle effect only on gemstone edges or facets.
Let the jewelry shine on its own. Avoid overdoing effects. A natural and realistic look is what truly attracts customers and encourages them to make a purchase.
A Step-by-Step Guide to Realistic Jewelry Retouching in Photoshop
Smart jewelry retouching is all about maintaining a balance between enhancement and realism. In the following steps, we will guide you through a practical approach to editing jewelry images while keeping them natural, clean, and visually appealing.
Step 1: Clean-Up Work Jewelry

Start by carefully reviewing the image. Look for any dust, spots, blurriness, or unwanted elements like fingers or marks. For small imperfections, you can use the Spot Healing Brush Tool to quickly fix them.
For larger scratches or noticeable marks, the Clone Stamp Tool is more effective. Zoom in closely while editing to ensure accuracy. Also, make sure the background is clean, smooth, and visually consistent with the image.
Step 2: Jewelry Color Correction
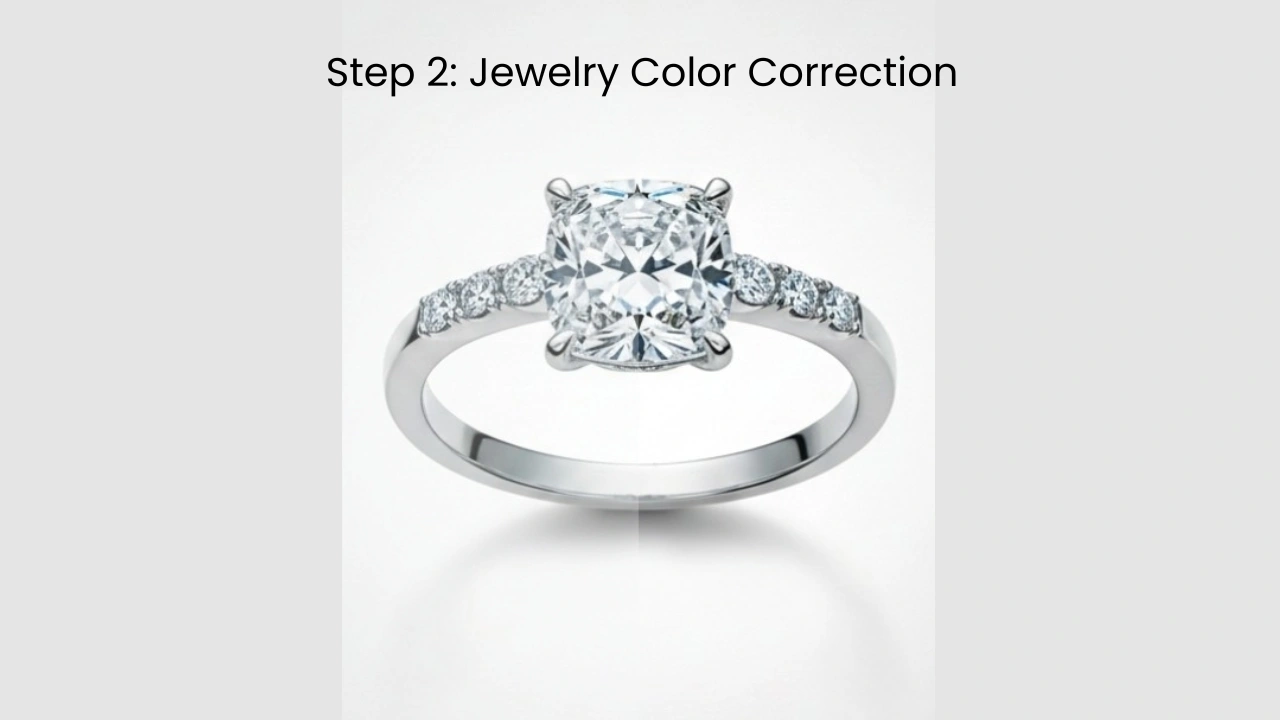
Begin with white balance correction. Ensure that metals such as gold, silver, and platinum appear natural—not too warm or too cool.
Adjust the exposure slightly to brighten the image, but avoid losing highlight details. Adding a bit of contrast can help bring out gemstones and add depth to the image. Soft gradients and balanced tones help maintain a realistic and clean appearance.
Step 3: Enhancing Jewelry Sparkle Without Going Over the Top

This is where many editors make mistakes by overdoing the sparkle. The Dodge and Burn tools can be used to gently brighten areas where light naturally hits gemstone facets.
This method helps enhance sparkle in a subtle and realistic way. You may also use sparkle overlays, but only in very small and controlled amounts. Focus only on the brightest highlights.
For polished metals, add a slight gloss to curved areas, but avoid turning reflections into mirror-like surfaces. Too much shine can make the jewelry look unrealistic, so keep it natural and balanced.
Step 4: Keep the Texture
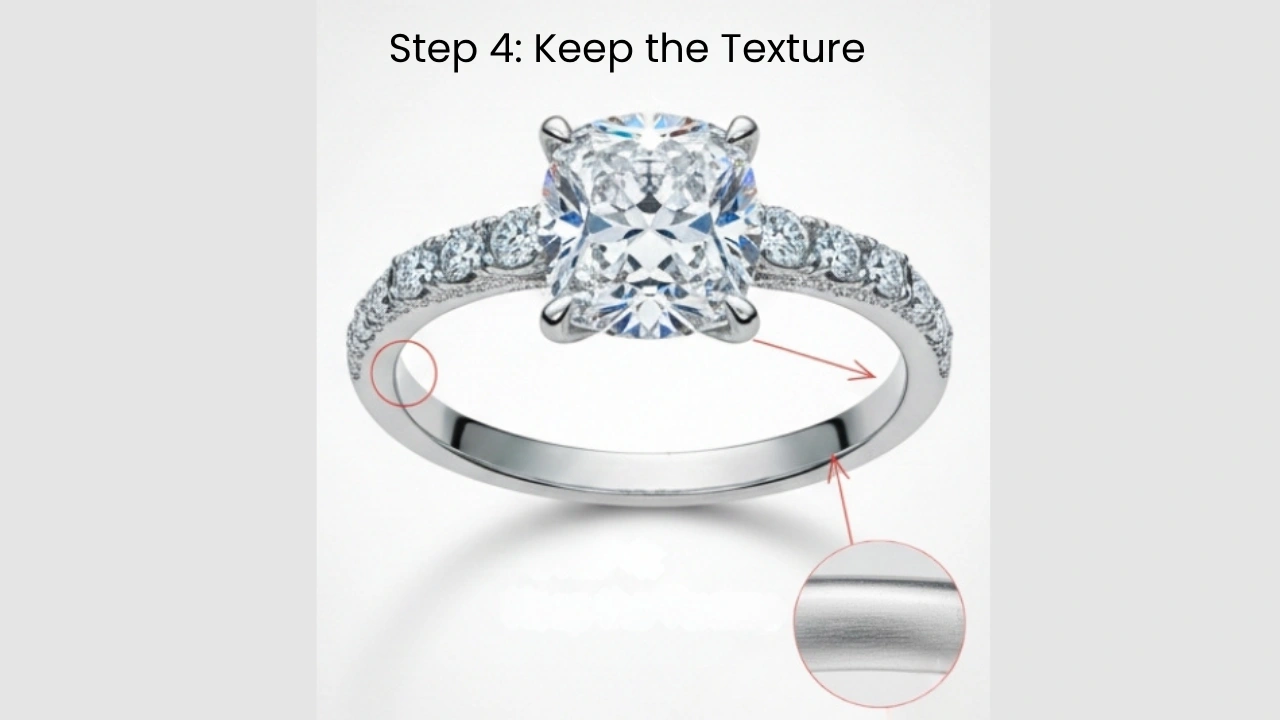
Texture is a key part of jewelry, so avoid over-blurring the image. Fine details such as gemstone edges, enamel grain, and surface micro-textures should remain visible.
Avoid excessive smoothing, as it can make the jewelry look artificial or plastic-like. Noise reduction can be helpful, but use it carefully and only where necessary.
Use the Liquify tool only if there are major distortions, and apply small, controlled adjustments. Always review your edits to ensure the final result still looks natural.
Step 5: Realistic Shadows
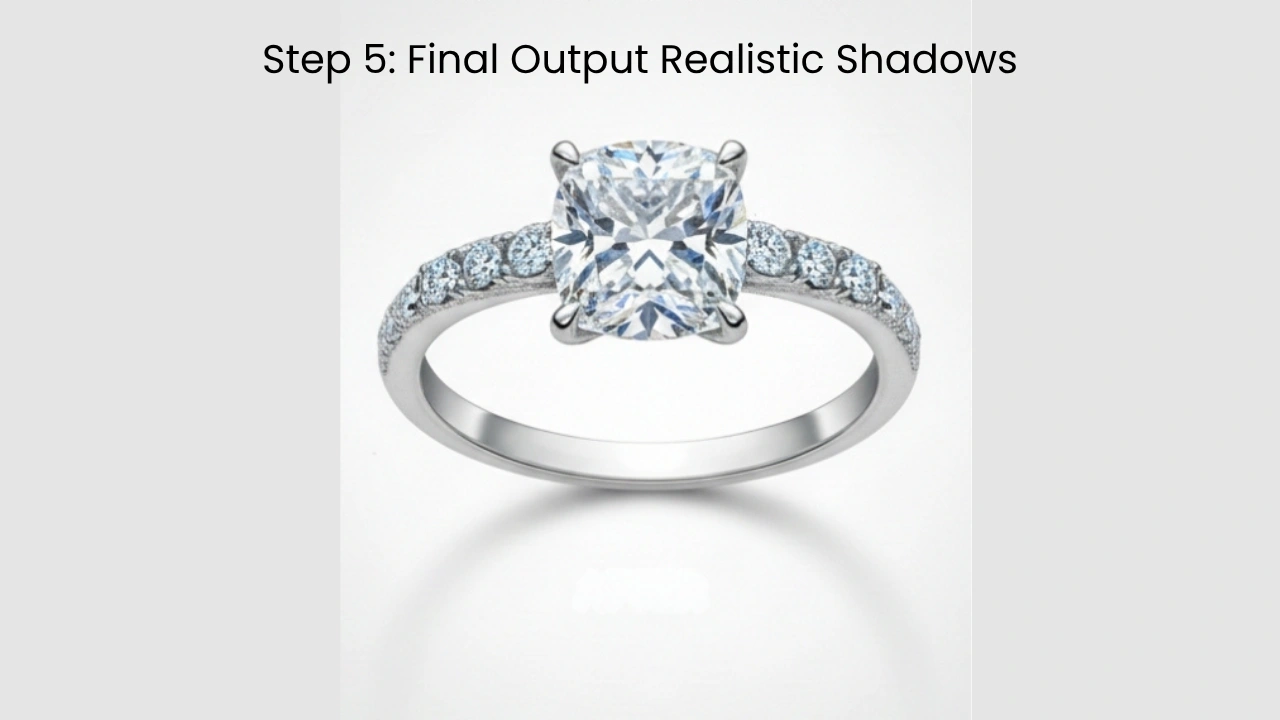
Jewelry should always have natural-looking shadows. If the product is floating without shadows, it won’t look realistic. Use soft shadows to anchor the jewelry properly in the scene.
If the original shadows are usable, enhance them slightly. If not, create a subtle drop shadow on a separate layer that matches the direction of the light source in the image.
Tips to Follow When Retouching Jewelry Product Photos
Jewelry retouching may seem simple, but small mistakes can easily affect the final result. A background that looks too flat, edges that appear unnatural, or shine that looks plastic can reduce the overall quality of the image. These minor issues can also impact how customers perceive and trust the product
Smart Background Techniques: Keeping it Clean
A clean background helps your jewelry stand out and reflects a professional brand image. Most jewelry products are displayed on white or light grey backgrounds. While these may seem simple, they must be handled carefully.
If the background is too flat, the jewelry may appear to “float.” If the edges are too sharp, it may look like the product has been cut out.
To remove backgrounds in tools like Photoshop, the Pen Tool is often the best choice as it gives precise control over edges. For more detailed or complex jewelry, the Select & Mask feature can help refine selections.
Avoid overly sharp edges by adding a slight feather (around 0.5–1 pixel for high-resolution images). Using layer masks is also recommended, as they allow non-destructive editing and give flexibility for future adjustments.
Always include a subtle shadow or gradient to maintain depth and realism. This helps anchor the jewelry and prevents it from looking like it is floating. A clean background should enhance the product, not flatten it.
Consistency of Style in Product Lines
Consistency is essential in jewelry photo editing. When all product images follow the same style, lighting, and tone, your brand appears more professional and trustworthy.
If images lack consistency in quality or clarity, customers may feel uncertain about your store. A uniform look across all product images helps create a clean and organized product grid. This builds confidence and improves the overall shopping experience.
Consistent visuals make your product collection feel cohesive rather than random.
Tools & Plugins to Balance Sparkle & Realism
Modern jewelry retouching tools often include AI features that speed up the editing process. While these tools are helpful, they should not be fully relied upon. Overuse of automation can sometimes make images look unrealistic.
It’s important to review and fine-tune edits manually to ensure the final image looks natural and true to life. The goal is to enhance the product while maintaining authenticity.
Why Cutout Partner Stands Out as a Leading Jewelry Retouching Agency
In the competitive world of online retail, high-quality visuals play a crucial role in influencing customer decisions—especially in the jewelry industry. From diamonds to gold pieces, every detail matters. This is where Cutout Partner has built a strong reputation as a leading jewelry retouching agency, helping brands present their products with precision and elegance.
One of the key reasons Cutout Partner stands out is its specialized expertise in jewelry retouching. Unlike general photo editing services jewelry requires careful handling of reflections, shadows, and intricate details. The team understands how to enhance sparkle without making it look artificial, ensuring that each piece maintains a natural yet premium appearance. This balance between realism and enhancement is essential for building customer trust.
Another factor that sets Cutout Partner apart is its commitment to quality consistency. For eCommerce brands, maintaining a uniform look across hundreds or thousands of product images is critical. Cutout Partner follows strict quality control processes to ensure that every image aligns with brand standards. Whether it’s background cleaning, color correction, or fine detailing, the output remains consistent and professional.
Speed and scalability also play a major role in their success. Jewelry businesses often need bulk image editing within tight deadlines, especially during product launches or seasonal campaigns. Cutout Partner offers fast turnaround times without compromising quality. Their workflow is designed to handle large volumes efficiently, making them a reliable partner for growing brands.
In addition, Cutout Partner uses a combination of advanced tools and skilled human retouchers. While automation helps speed up basic tasks, expert designers carefully refine each image to achieve the best results. This human touch ensures that even the most complex jewelry pieces are retouched with precision and care.
From a commercial perspective, working with Cutout Partner is a cost-effective solution. Instead of building an in-house editing team, businesses can outsource their retouching needs and save both time and resources. High-quality images not only improve brand perception but also increase conversions and reduce return rates.
Conclusion
Balancing sparkle and realism in jewelry retouching is essential for creating high-quality product images. Proper editing highlights gemstone reflections while keeping the overall look natural and believable.
In this guide, we covered key techniques, step-by-step retouching tips, and best practices to help you create premium-looking jewelry images. With consistent practice and attention to detail, you can achieve professional results that attract customers.
If you want expert assistance to make your jewelry images look polished without over-editing, professional retouching services can help bring out the best in your products—naturally and beautifully.
FAQs
What is the best way to remove the background from jewelry photos?
The Photoshop Pen Tool is the most accurate method for background removal. For complex details, Select & Mask can help refine edges. Slightly softening edges improves realism.
Should jewelry backgrounds always be pure white?
Not always. White and light grey are common, but backgrounds should still have depth. Adding subtle shadows or gradients prevents a flat or floating look.
Why do some jewelry photos look fake after retouching?
Over-editing, excessive sparkle, and overly smooth metals can make jewelry look unrealistic. Good retouching enhances natural details instead of creating artificial effects.
How much sparkle is too much in jewelry retouching?
If sparkle hides details or makes the gemstone look flat, it is too much. Natural sparkle comes from light reflections, not added effects or overlays.
Is jewelry retouching necessary if the photo is shot well?
Yes, but only minimally. Clean-up, color correction, and minor enhancements are usually enough for well-shot images.
Why is consistency important in jewelry product images?
Consistency builds trust and makes your brand look professional. When all images follow the same style, customers feel more confident in their purchase decisions.